Mykhailo Nedokushev
← [Home]Building Microjournal Rev.6
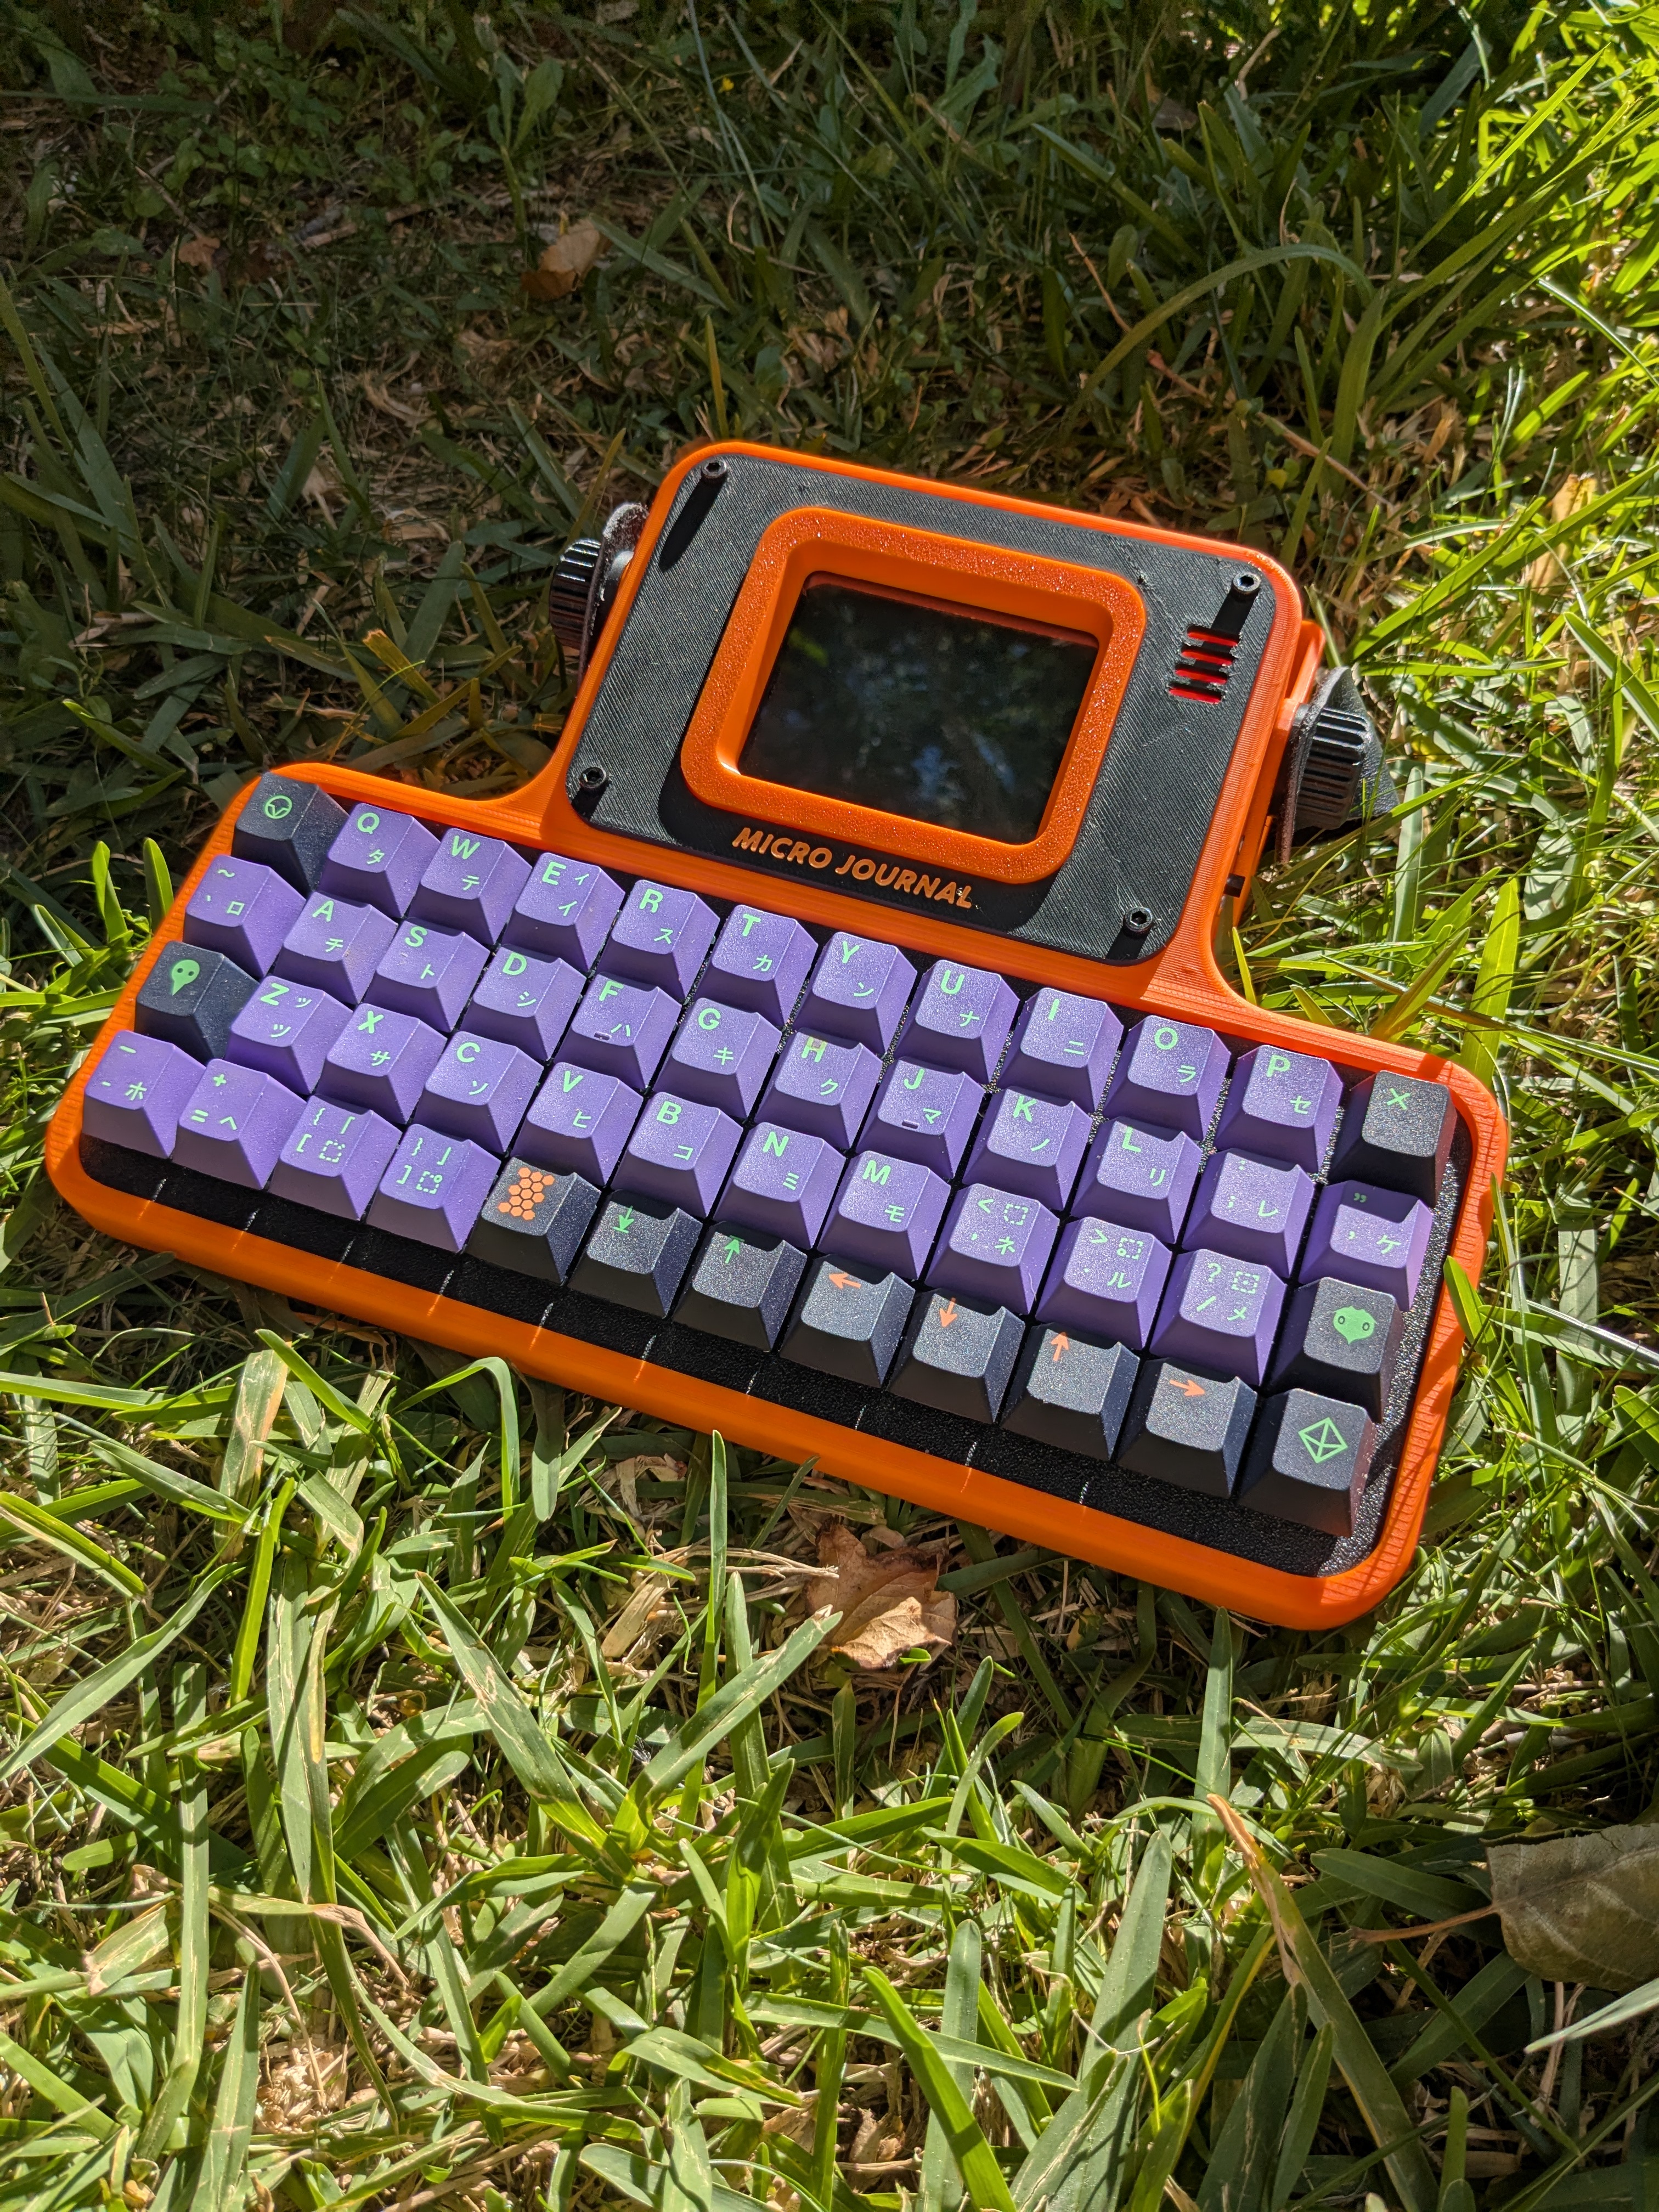
I’ve built the Microjournal and want to share the joy of going through the process with the rest of the fans and whoever is still thinking about doing it. My story started with one simple idea: I wanted to build something physical, some object in the real world with my own hands.
Introduction
I’ve spent my school years crafting many different things. I was lucky enough to have an opportunity to attend free after-school classes where we were taught to build models of ships and planes. This was an echo of the Soviet era, when they were trying to incentivize young people to learn the necessary skills needed to build the country.
I think this played a big role in who I became - a person who likes building stuff. Despite being derailed to programming after I bought my first computer when I was 16, I still want to create something material. It gives a different feeling compared to completing yet another piece of business logic at work or a small open source pet project.
I can’t remember how and where I came across the Microjournal, but I got that feeling that I want to have one almost instantly. From a DIY perspective, the device combines the best of multiple worlds I like to fiddle with at the same time:
- physical (with a need to 3D print a shell)
- electronics, computers, keyboards, etc., that you need to wire together
- and, of course, software.
Luckily, Un Kyu Lee, the creator of the Microjournal, runs an online shop where you can choose from various options tailored to different types of users. You can buy either an almost-ready-to-use device or a lovely package of individual parts that need to be assembled almost from scratch. I’ve taken the latter option, of course. For even more tech-savvy enthusiasts, there is always the option to follow a build guide available on GitHub for making it completely on their own. It requires having a 3D printer at home, which I don’t have yet.
Building process
Now I want to share how it feels to build the Microjournal Rev.6 DIY Kit.
Given my personal life story, it may be obvious that I know how to handle a soldering iron and a screwdriver. So the entire process was quite smooth for me at every stage.
Color scheme
I imagined a black/orange color scheme since I like these colors for some reason. However, this color scheme was not available. I asked Un Kyu Lee whether it is possible to have it, and he kindly said that he would try to make it happen. This is lovely!
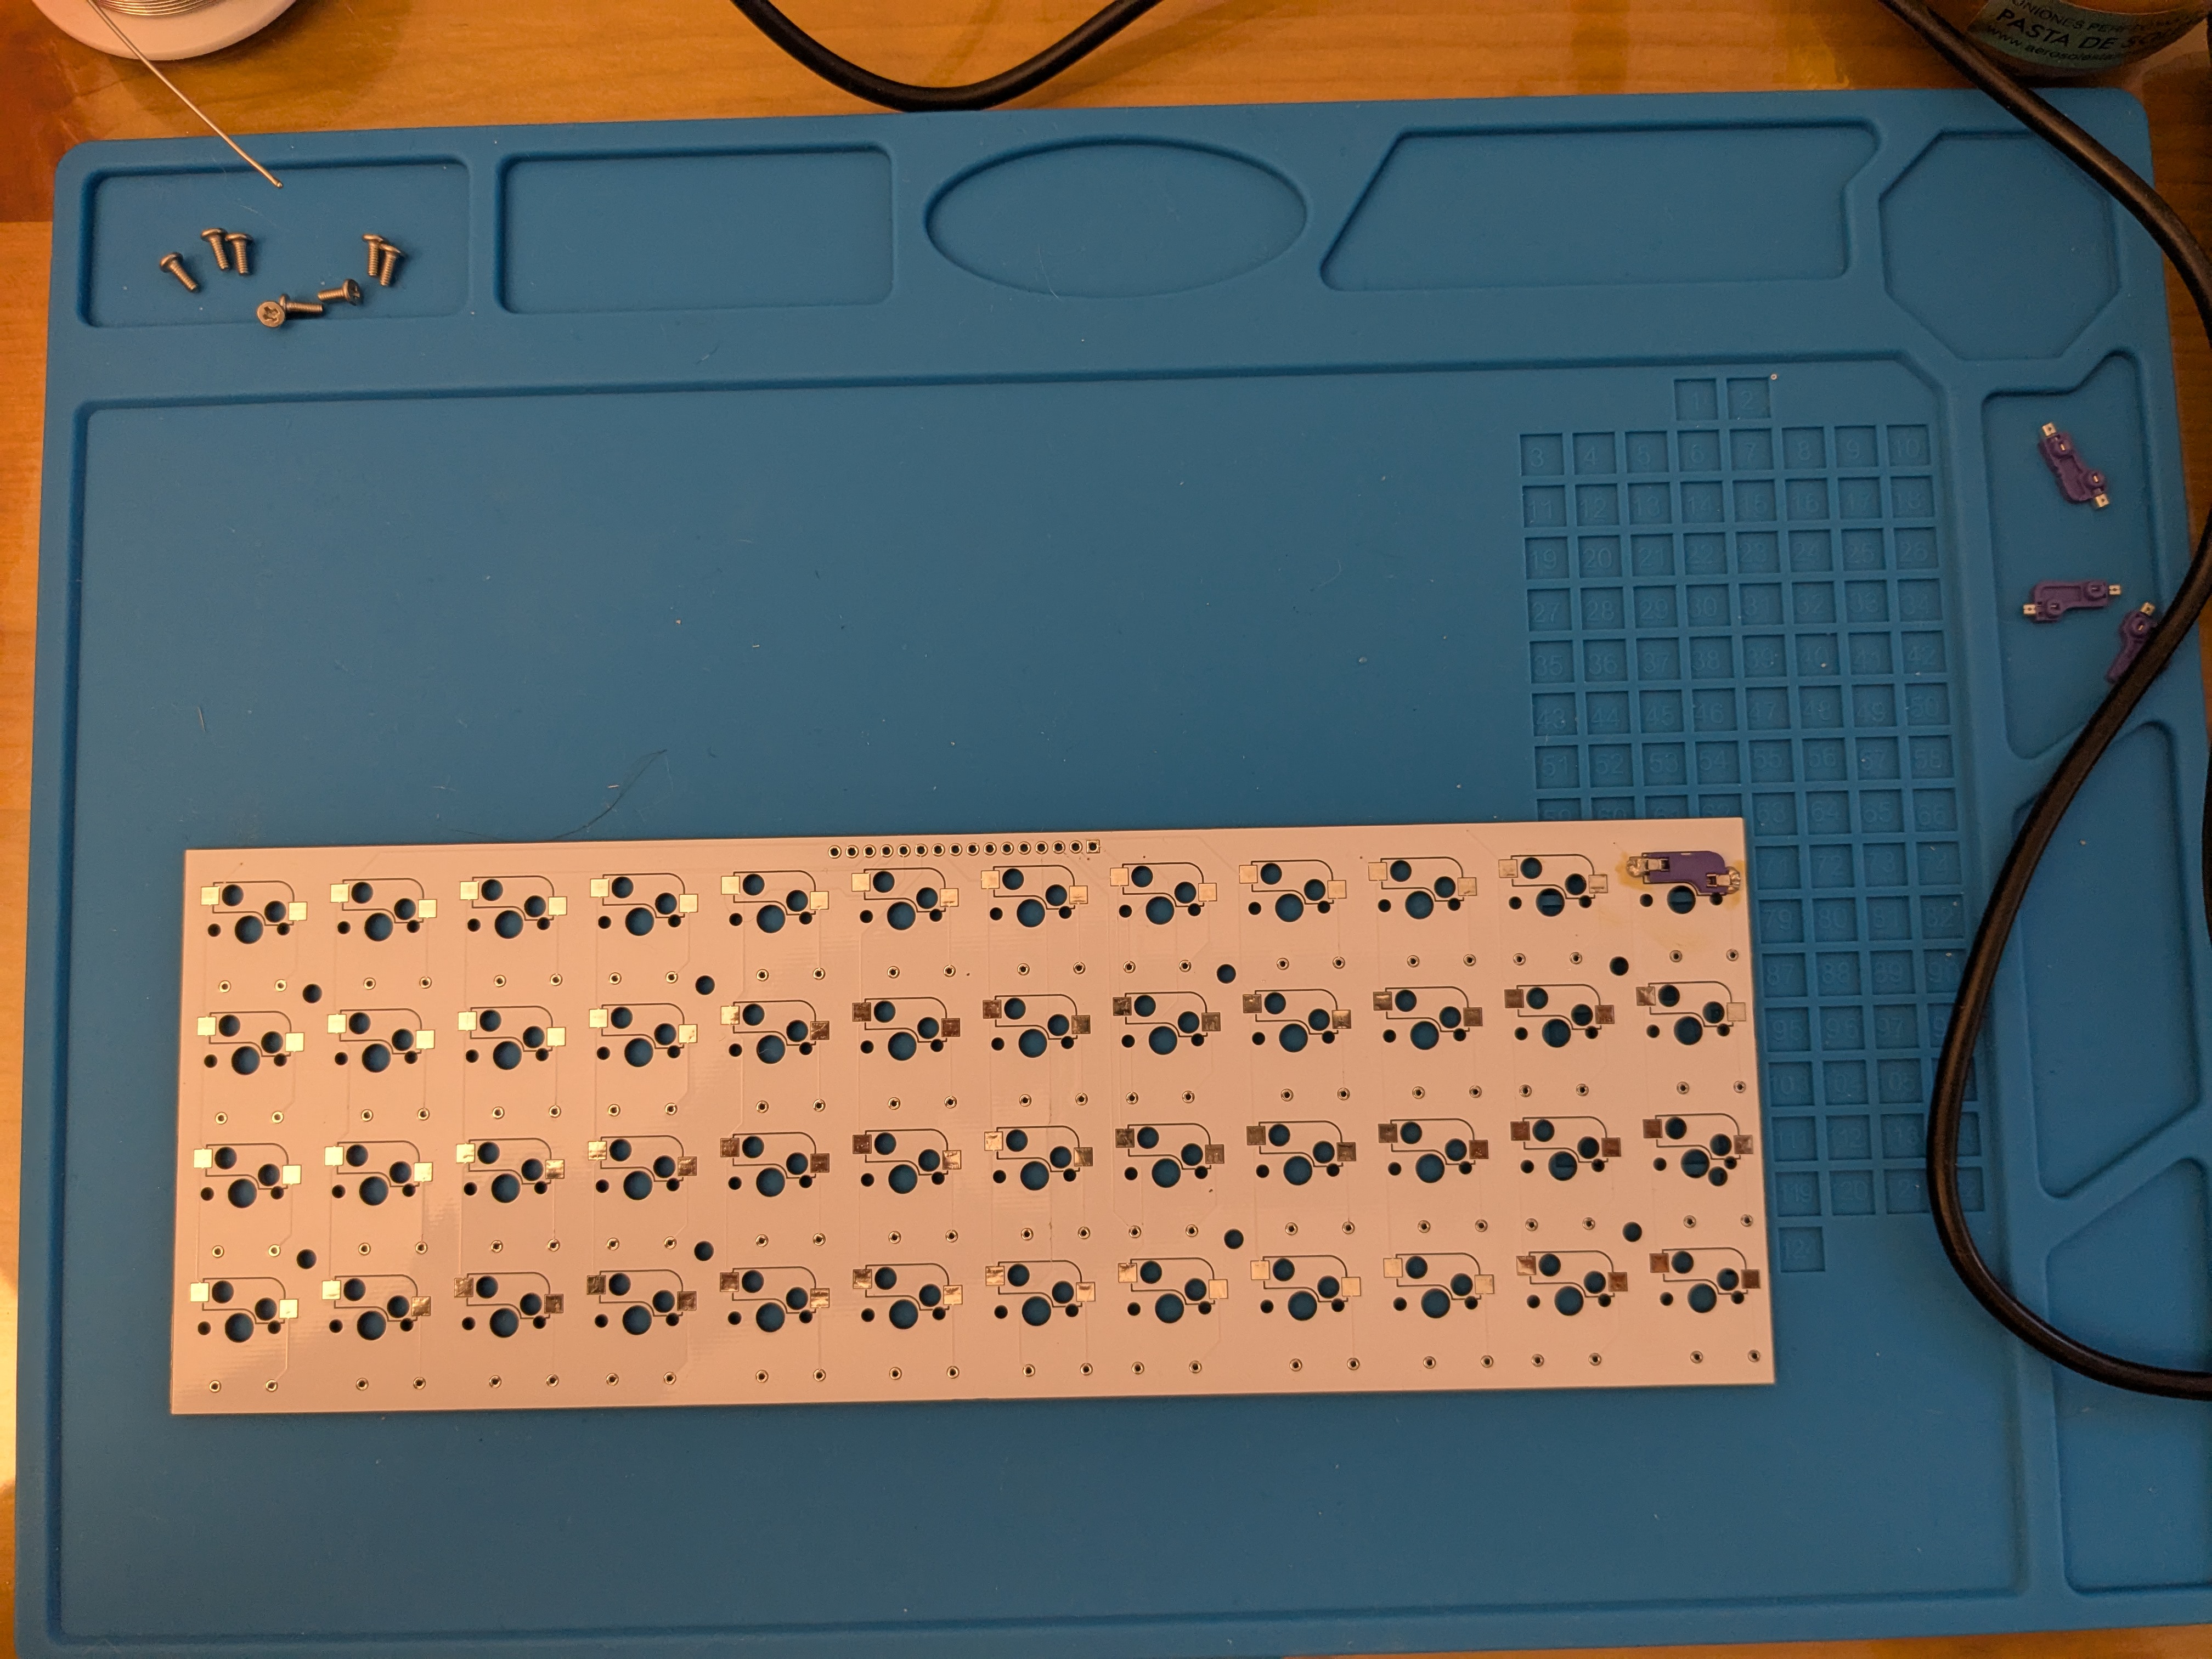
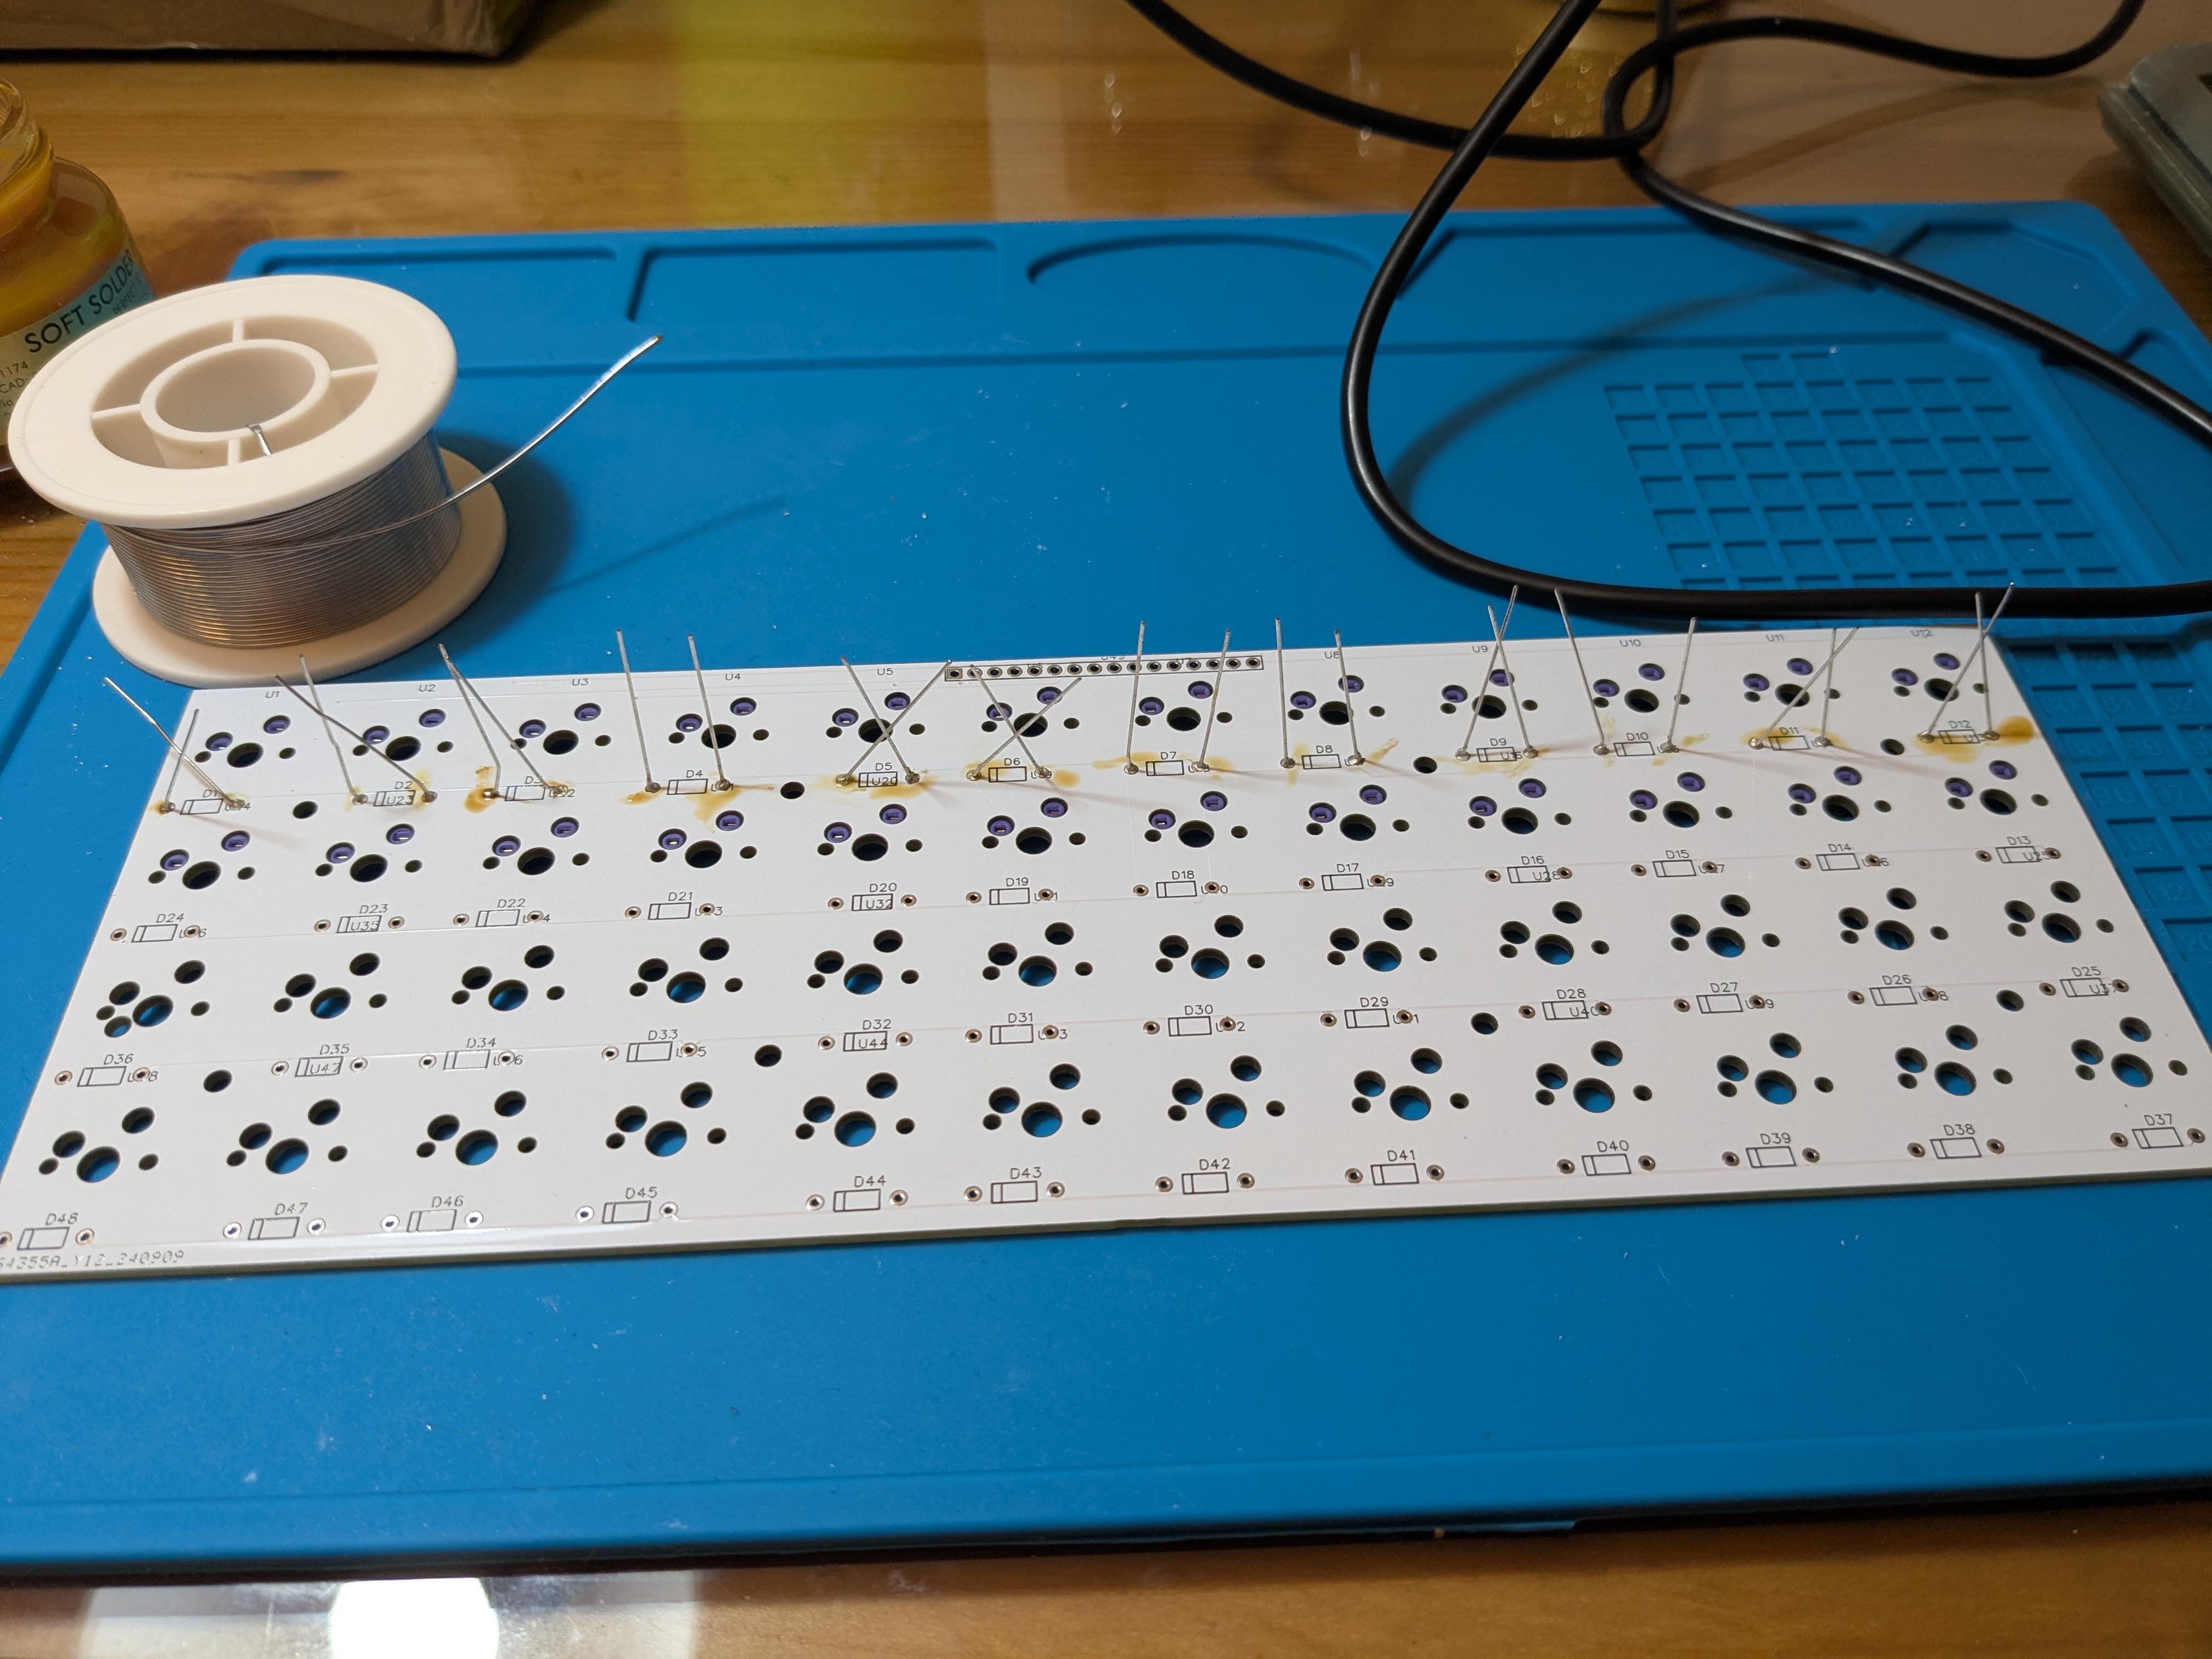
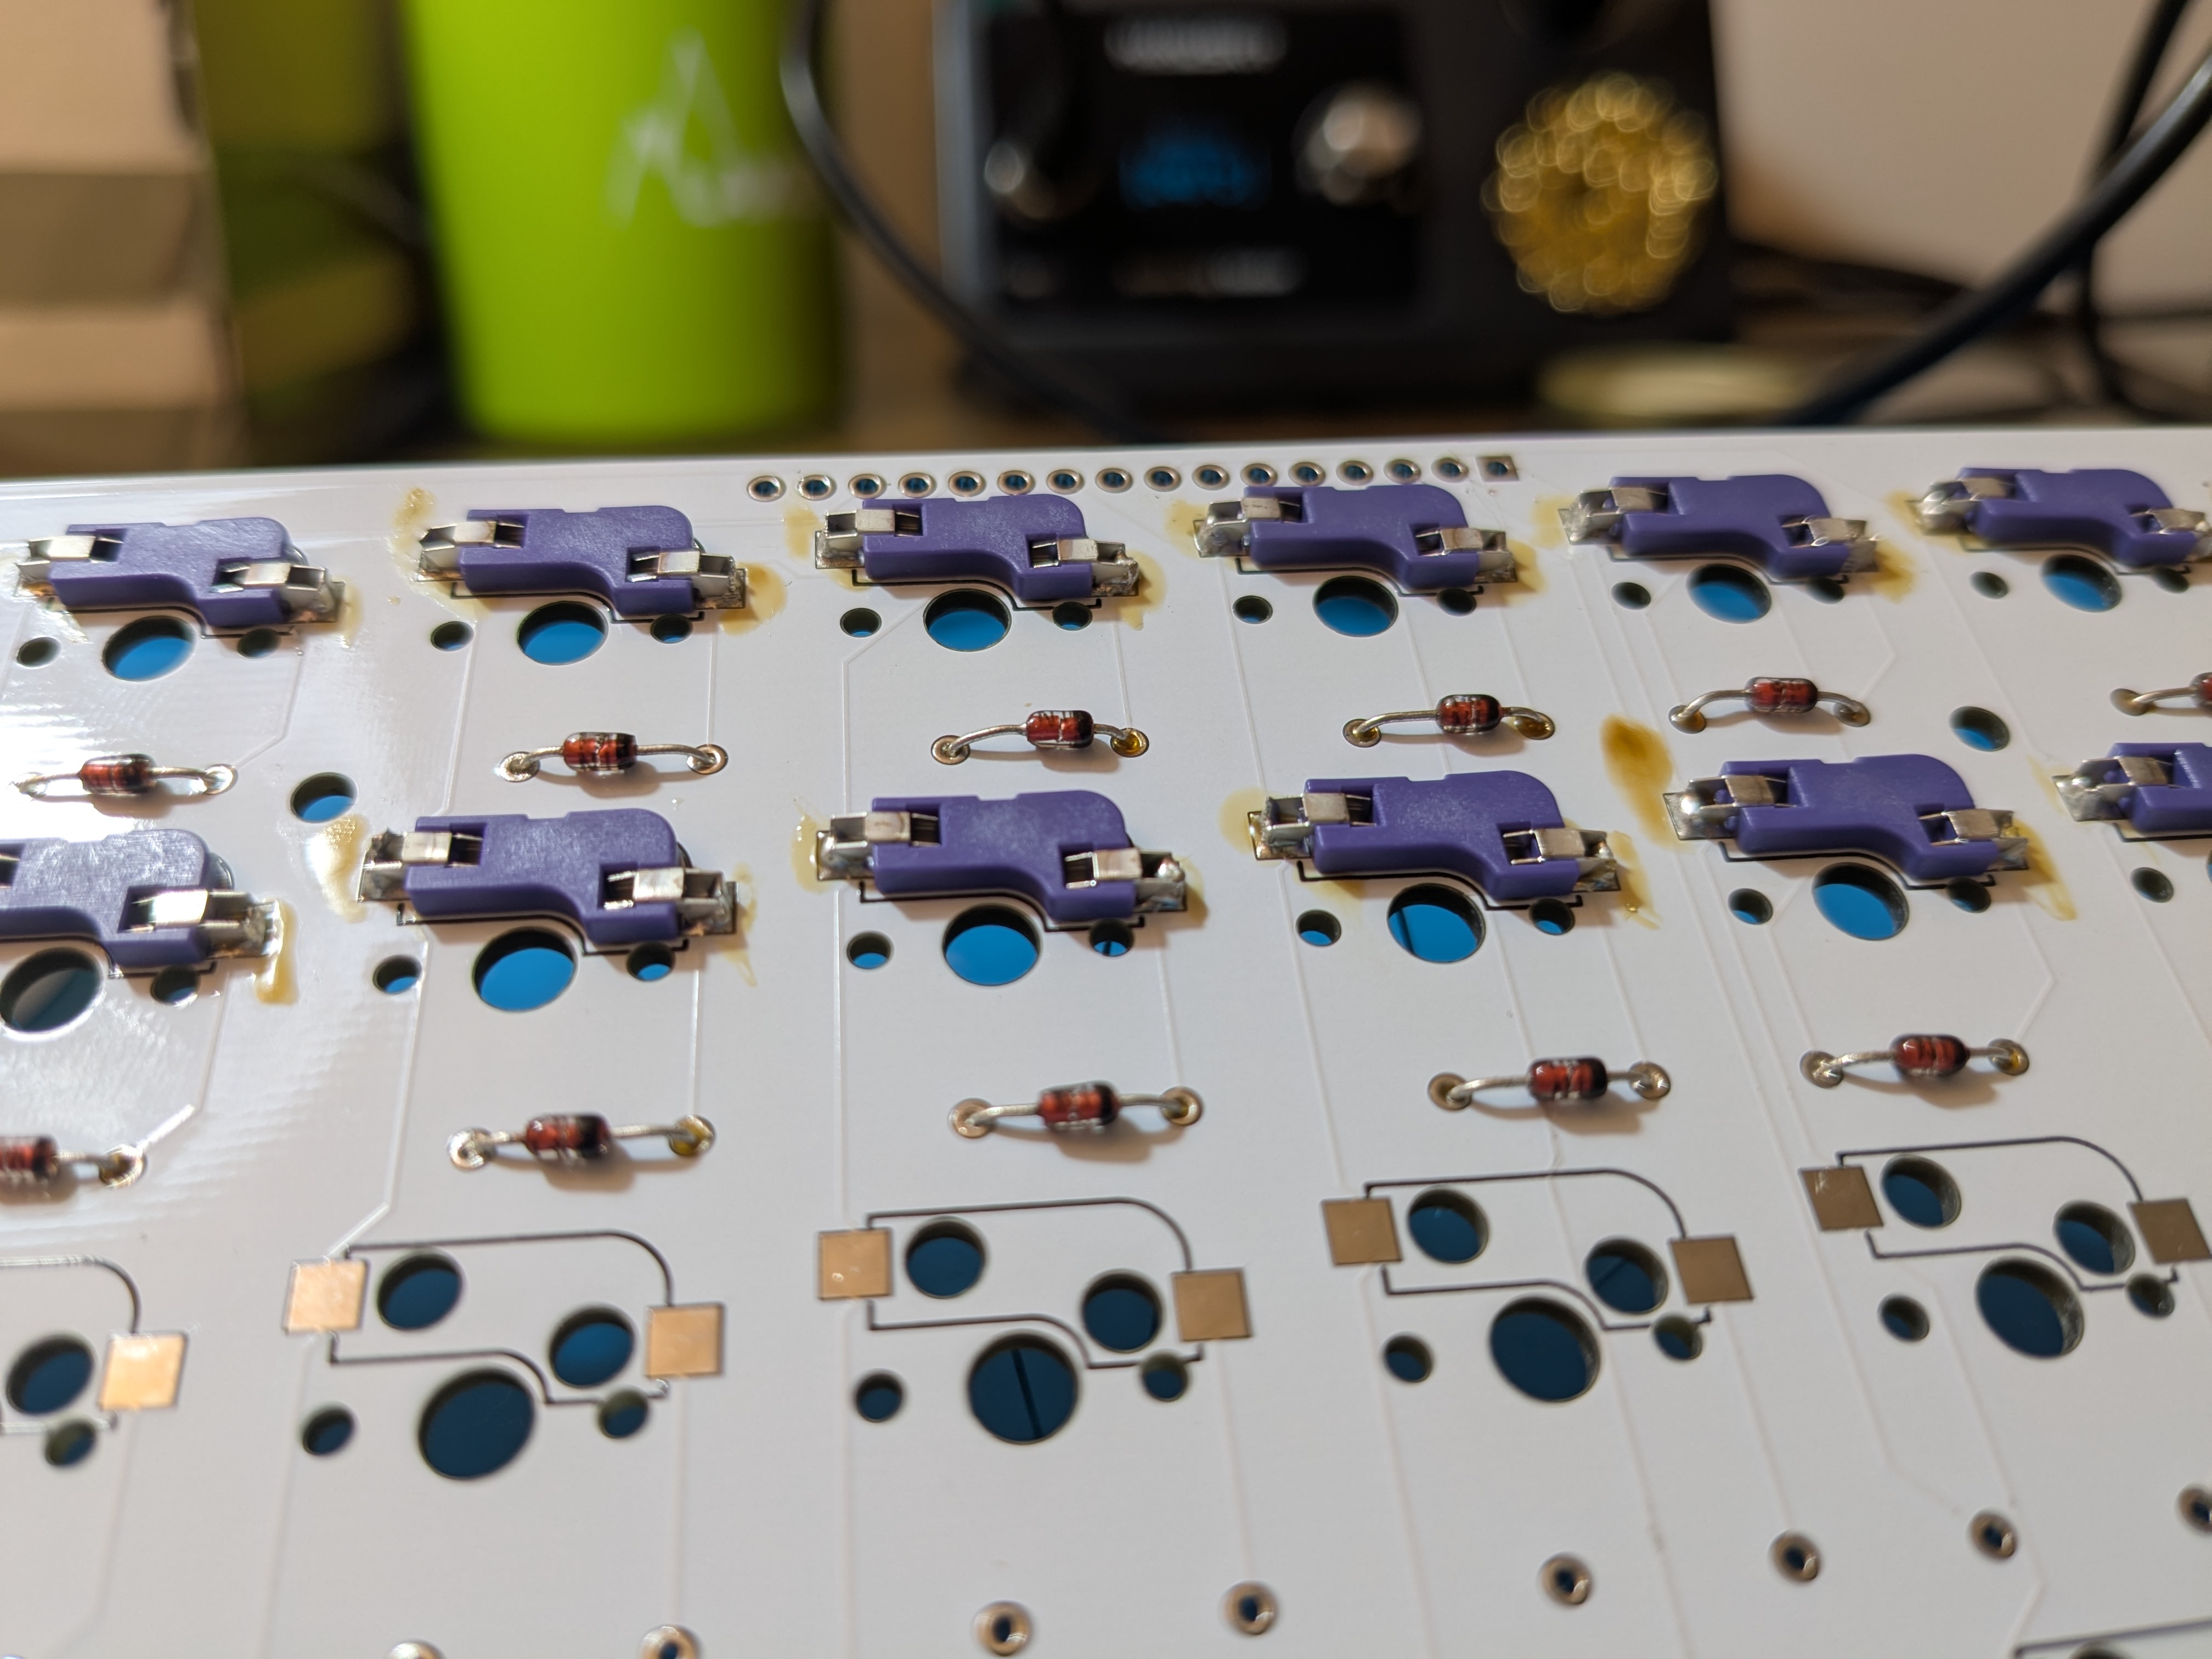
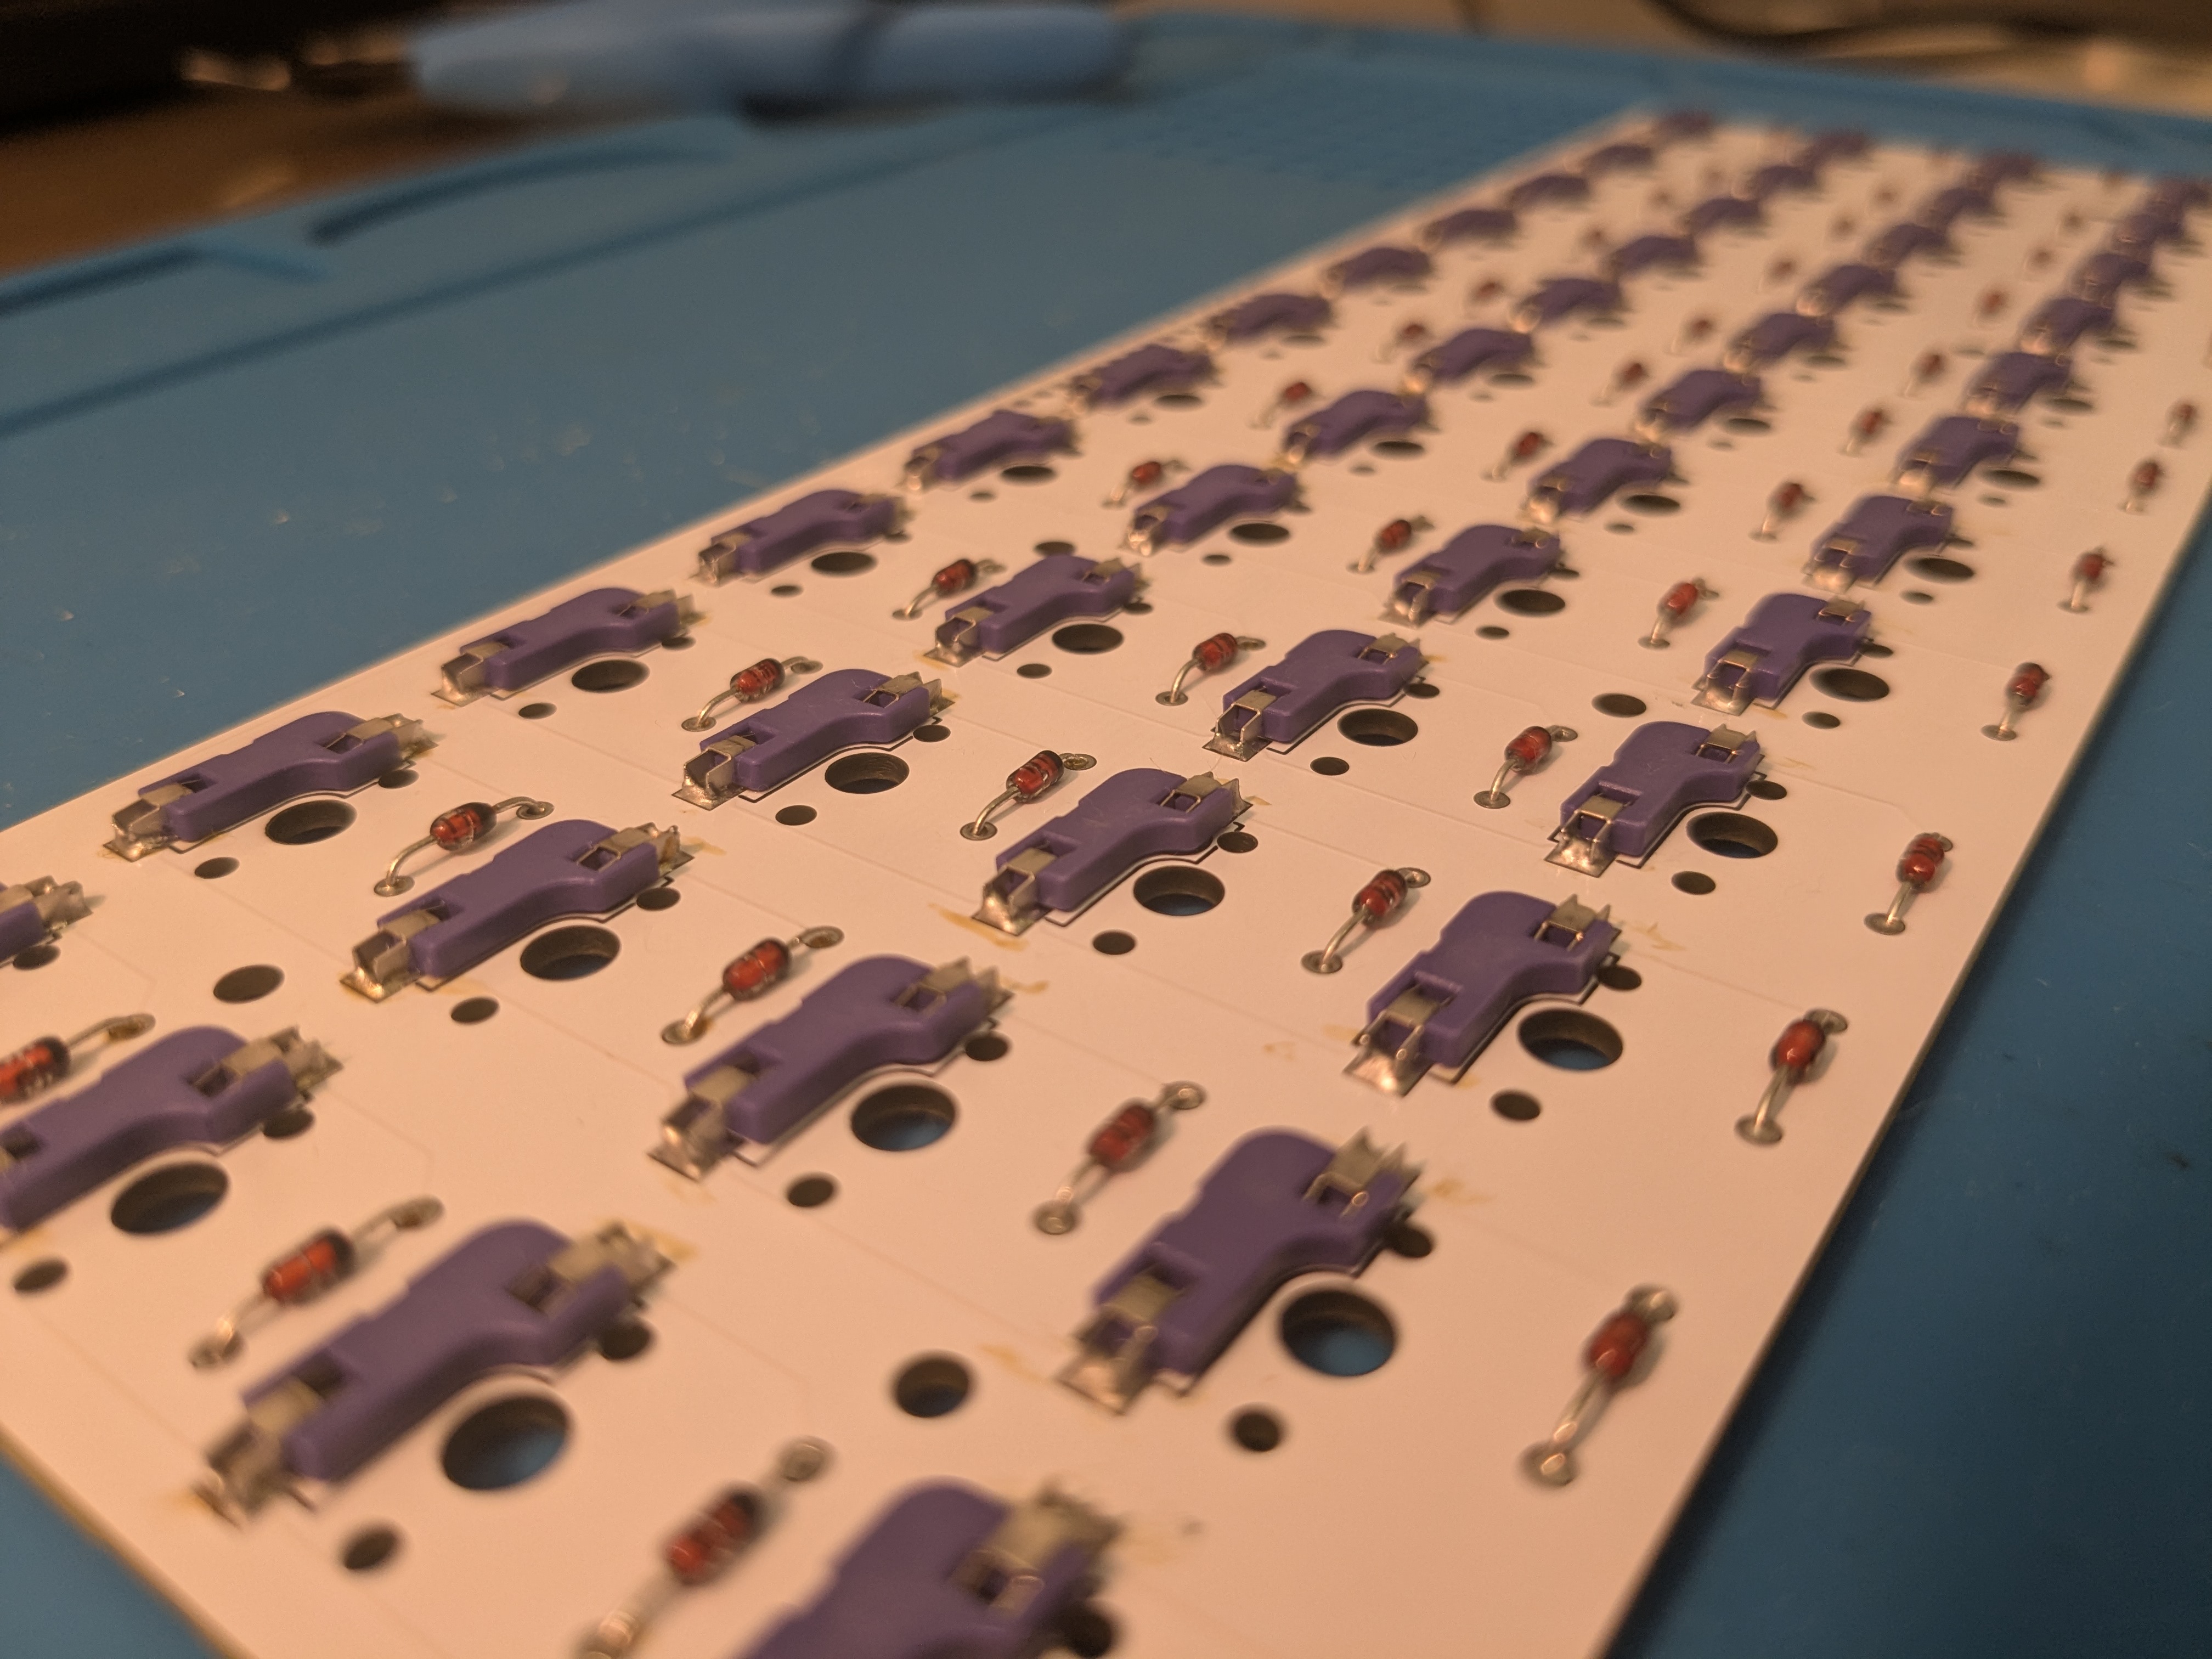
Keyboard PCB
I bought a version where you need to assemble a keyboard by yourself. It includes soldering resistors and hot-swappable sockets for key switches onto a provided keyboard PCB. It was pretty chill and meditative experience that took some time, as it needed to be repeated 48 times for each key.
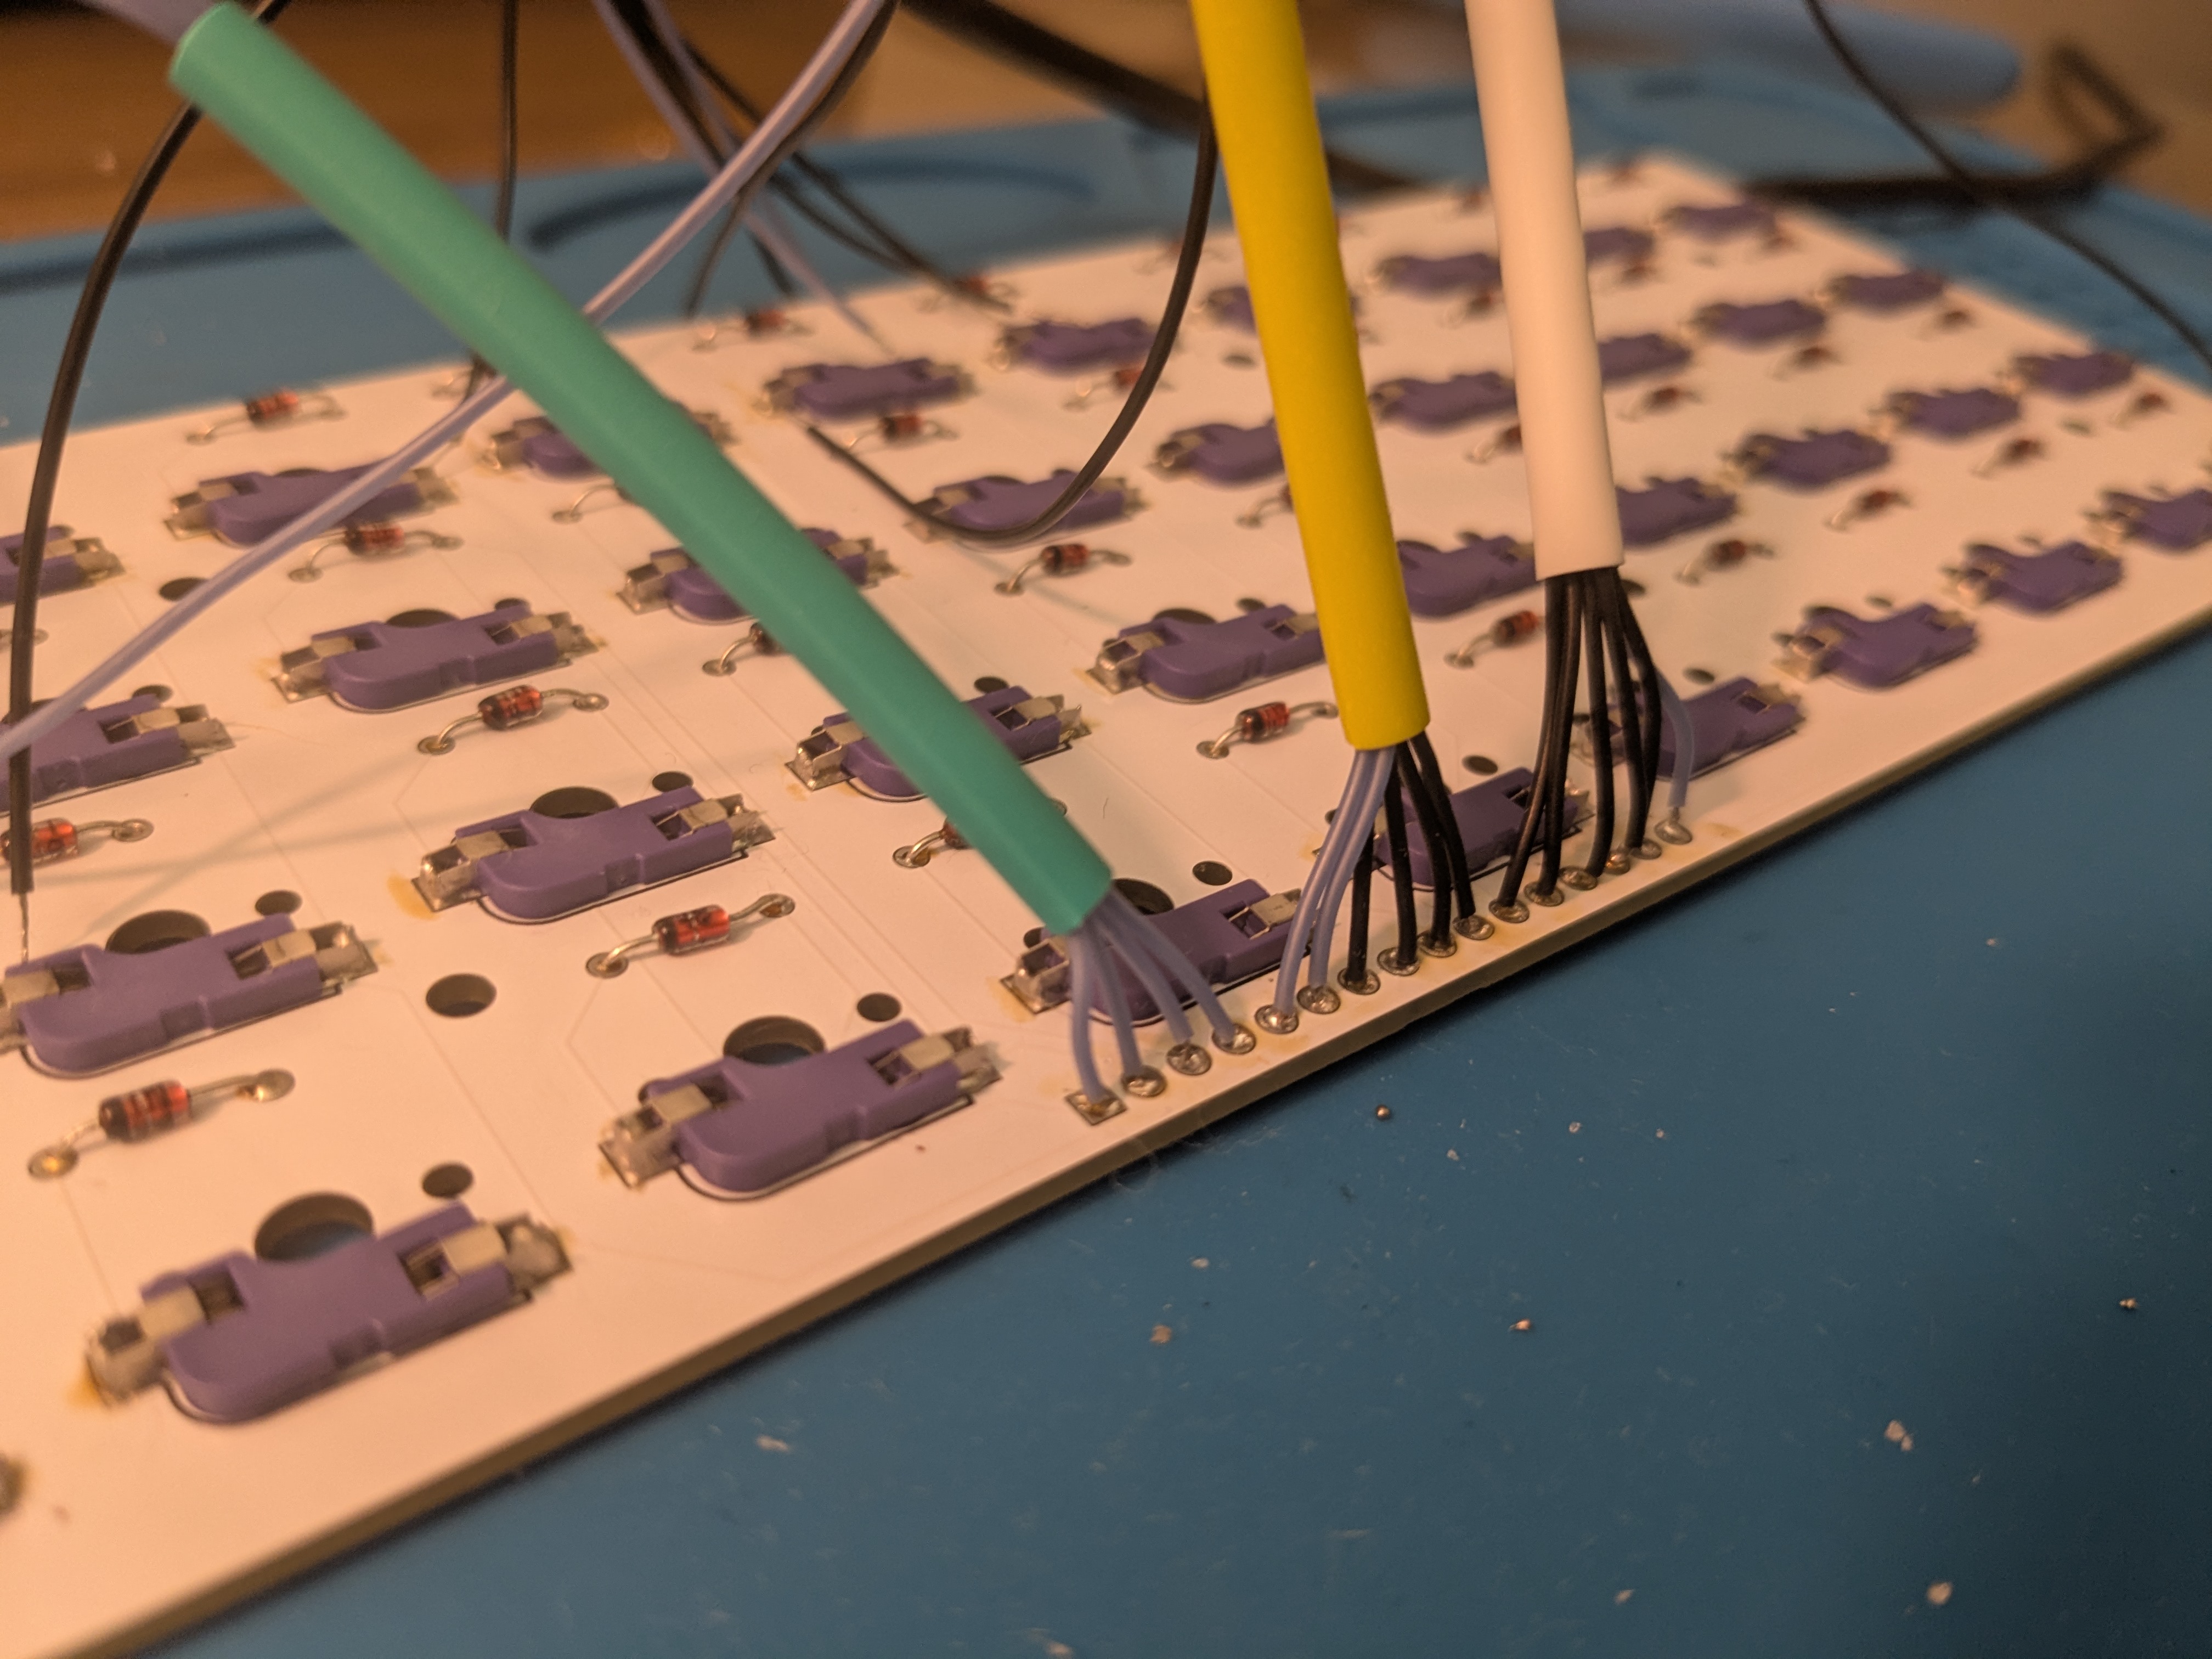
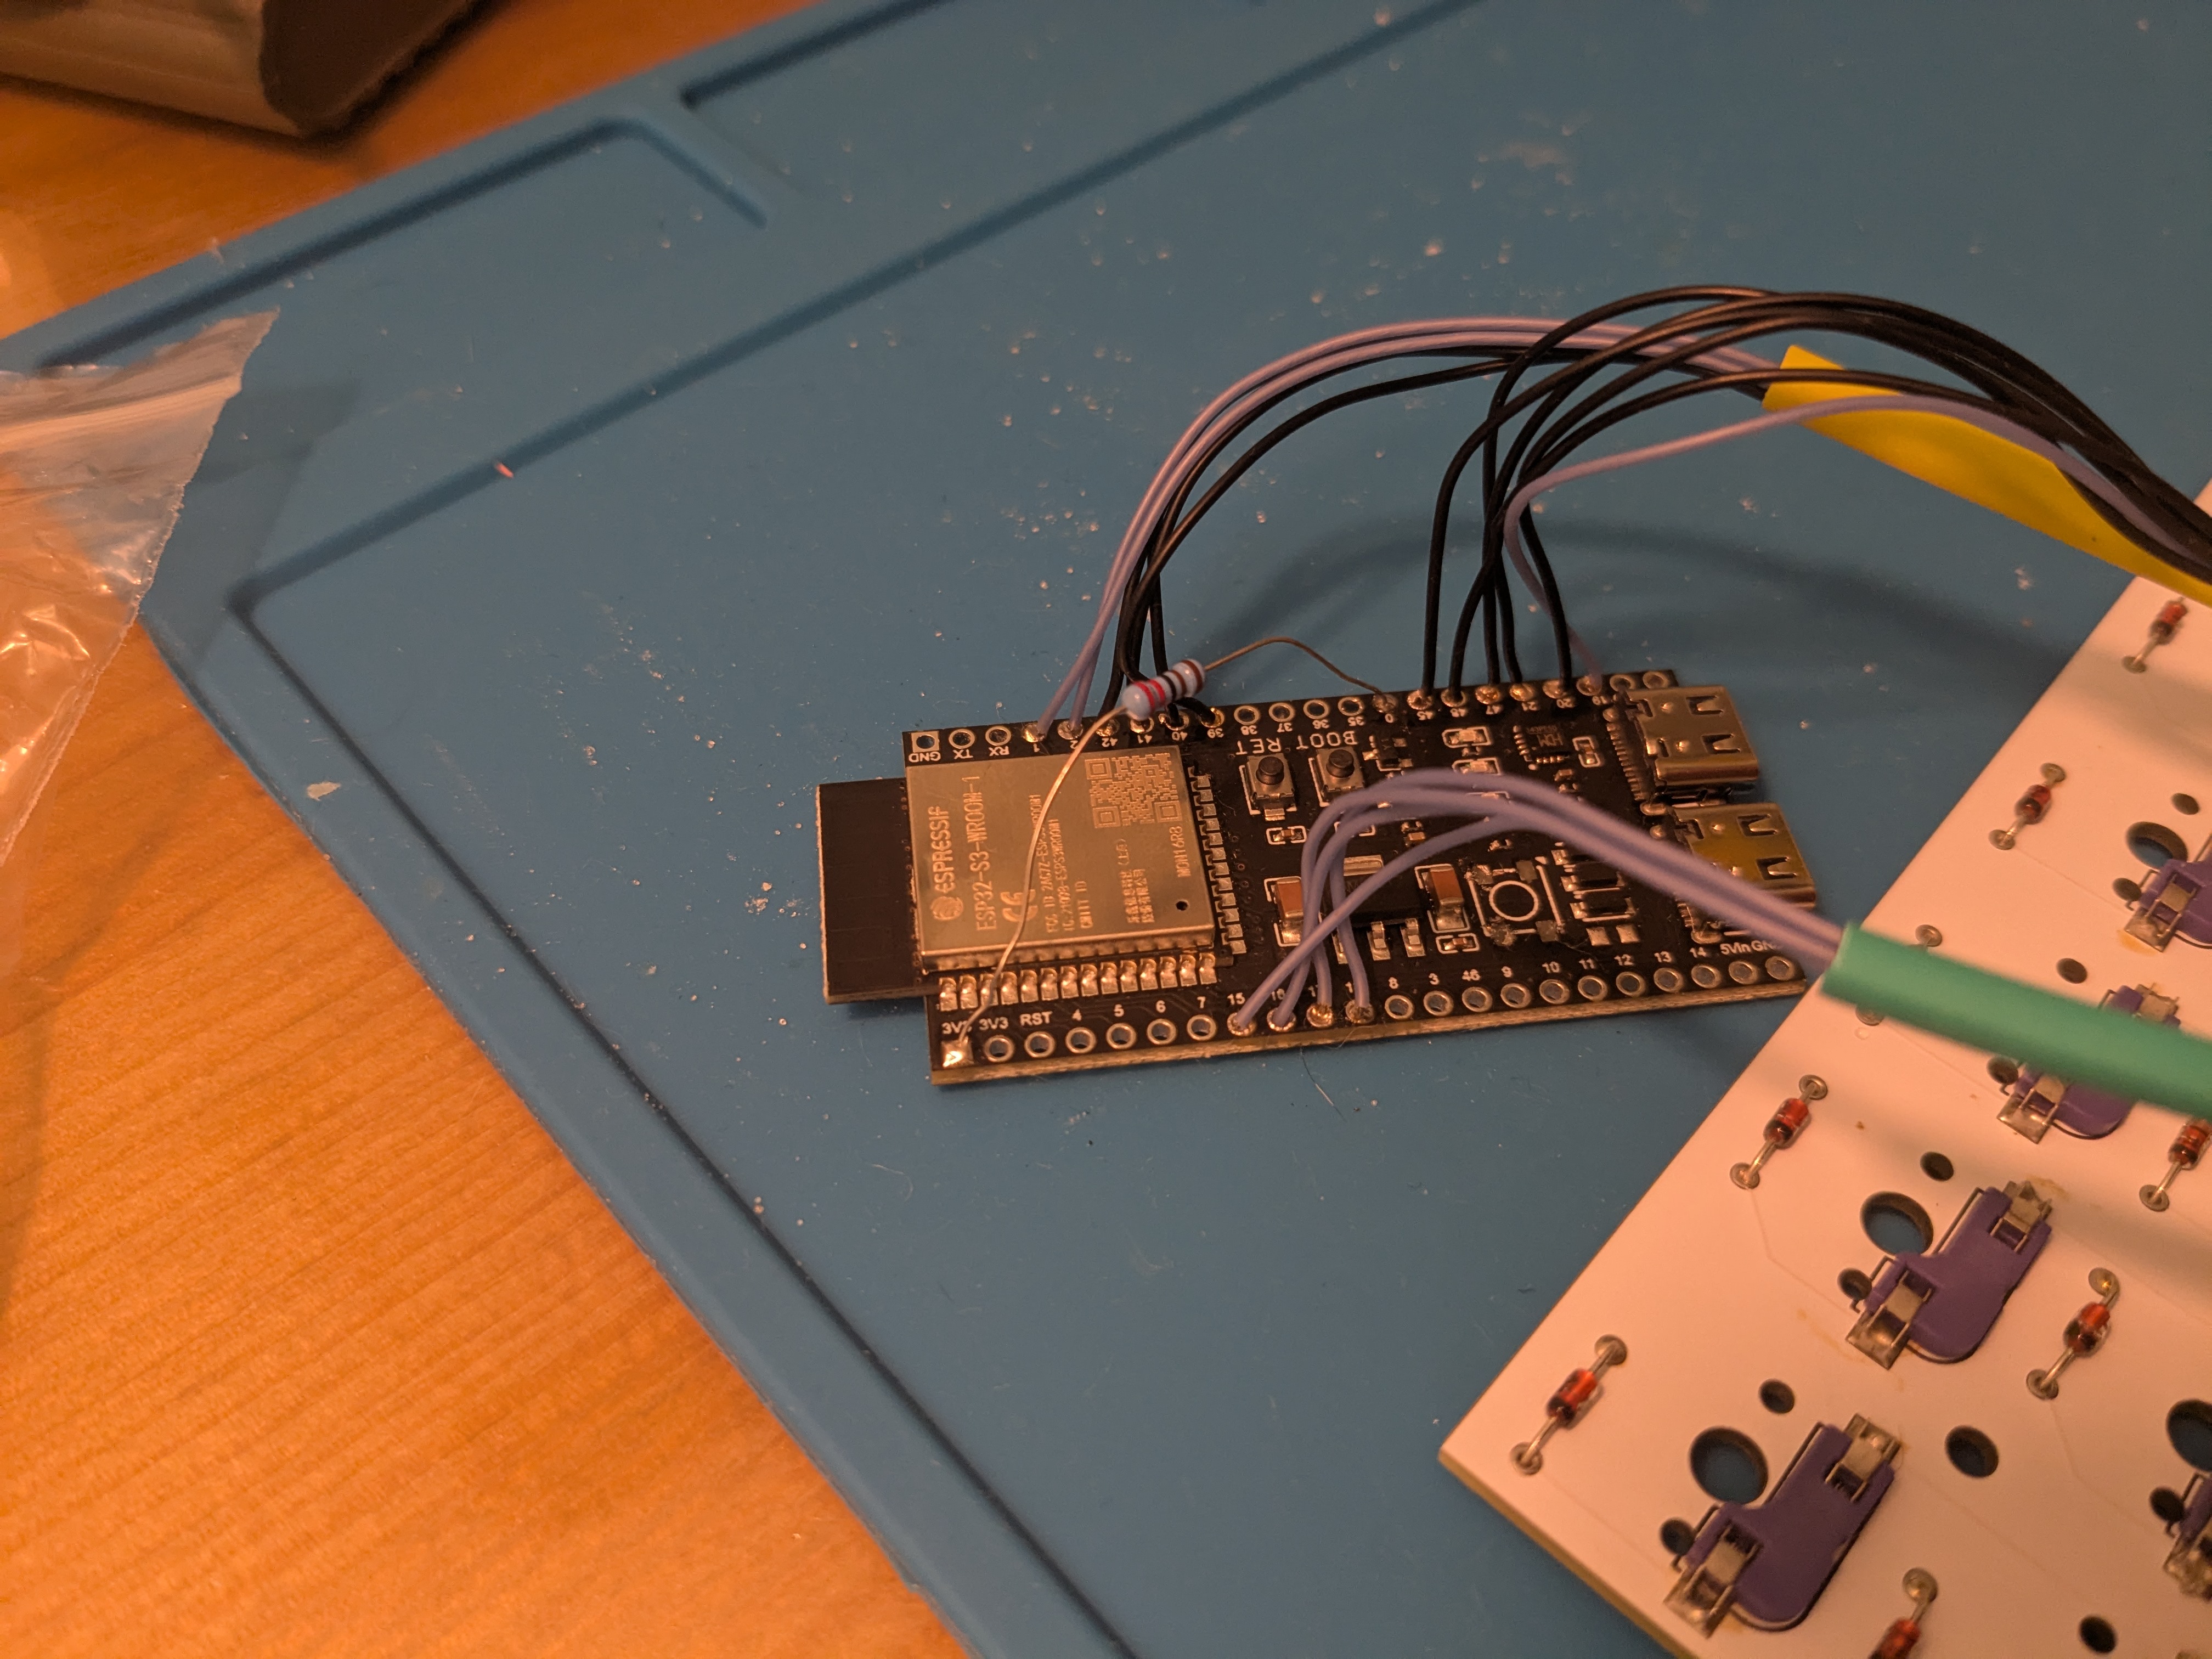
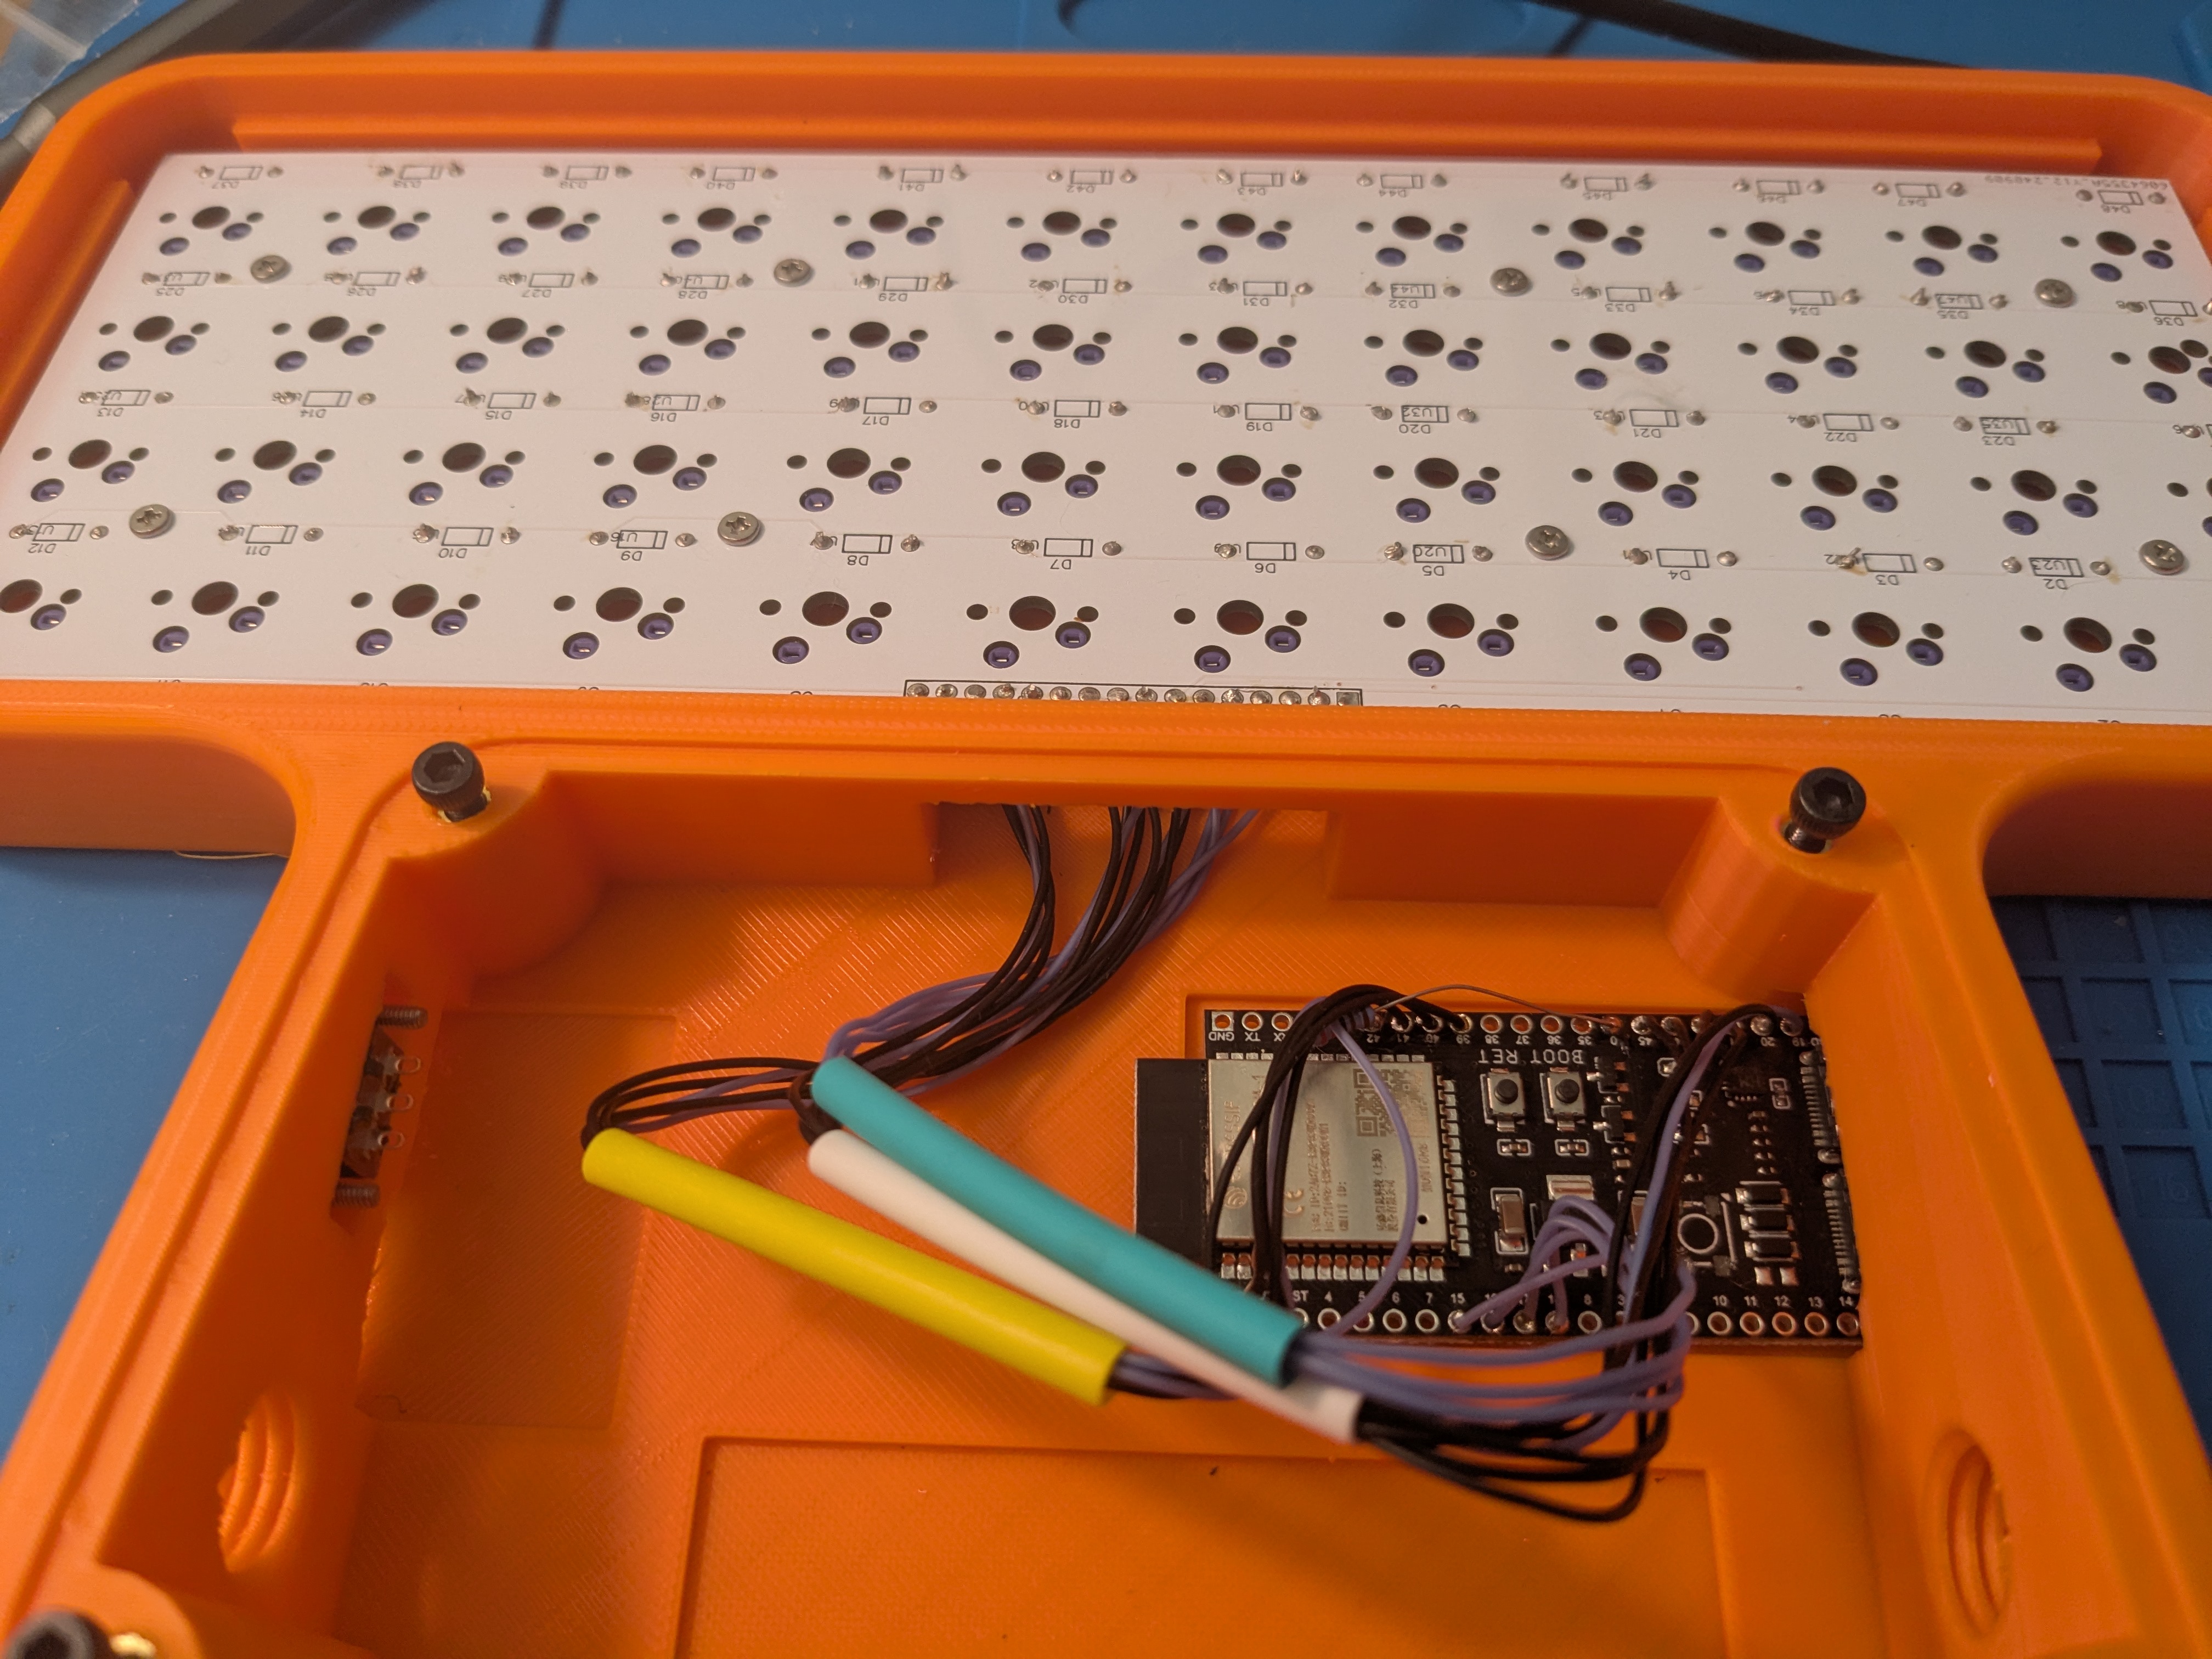
Connect the keyboard to ESP32
Then you need to connect the keyboard to the ESP32 board. It is being done by soldering 16 wires. This number comes from the number of rows added to the number of columns which is 4x12. It gives you exactly 48 keys.
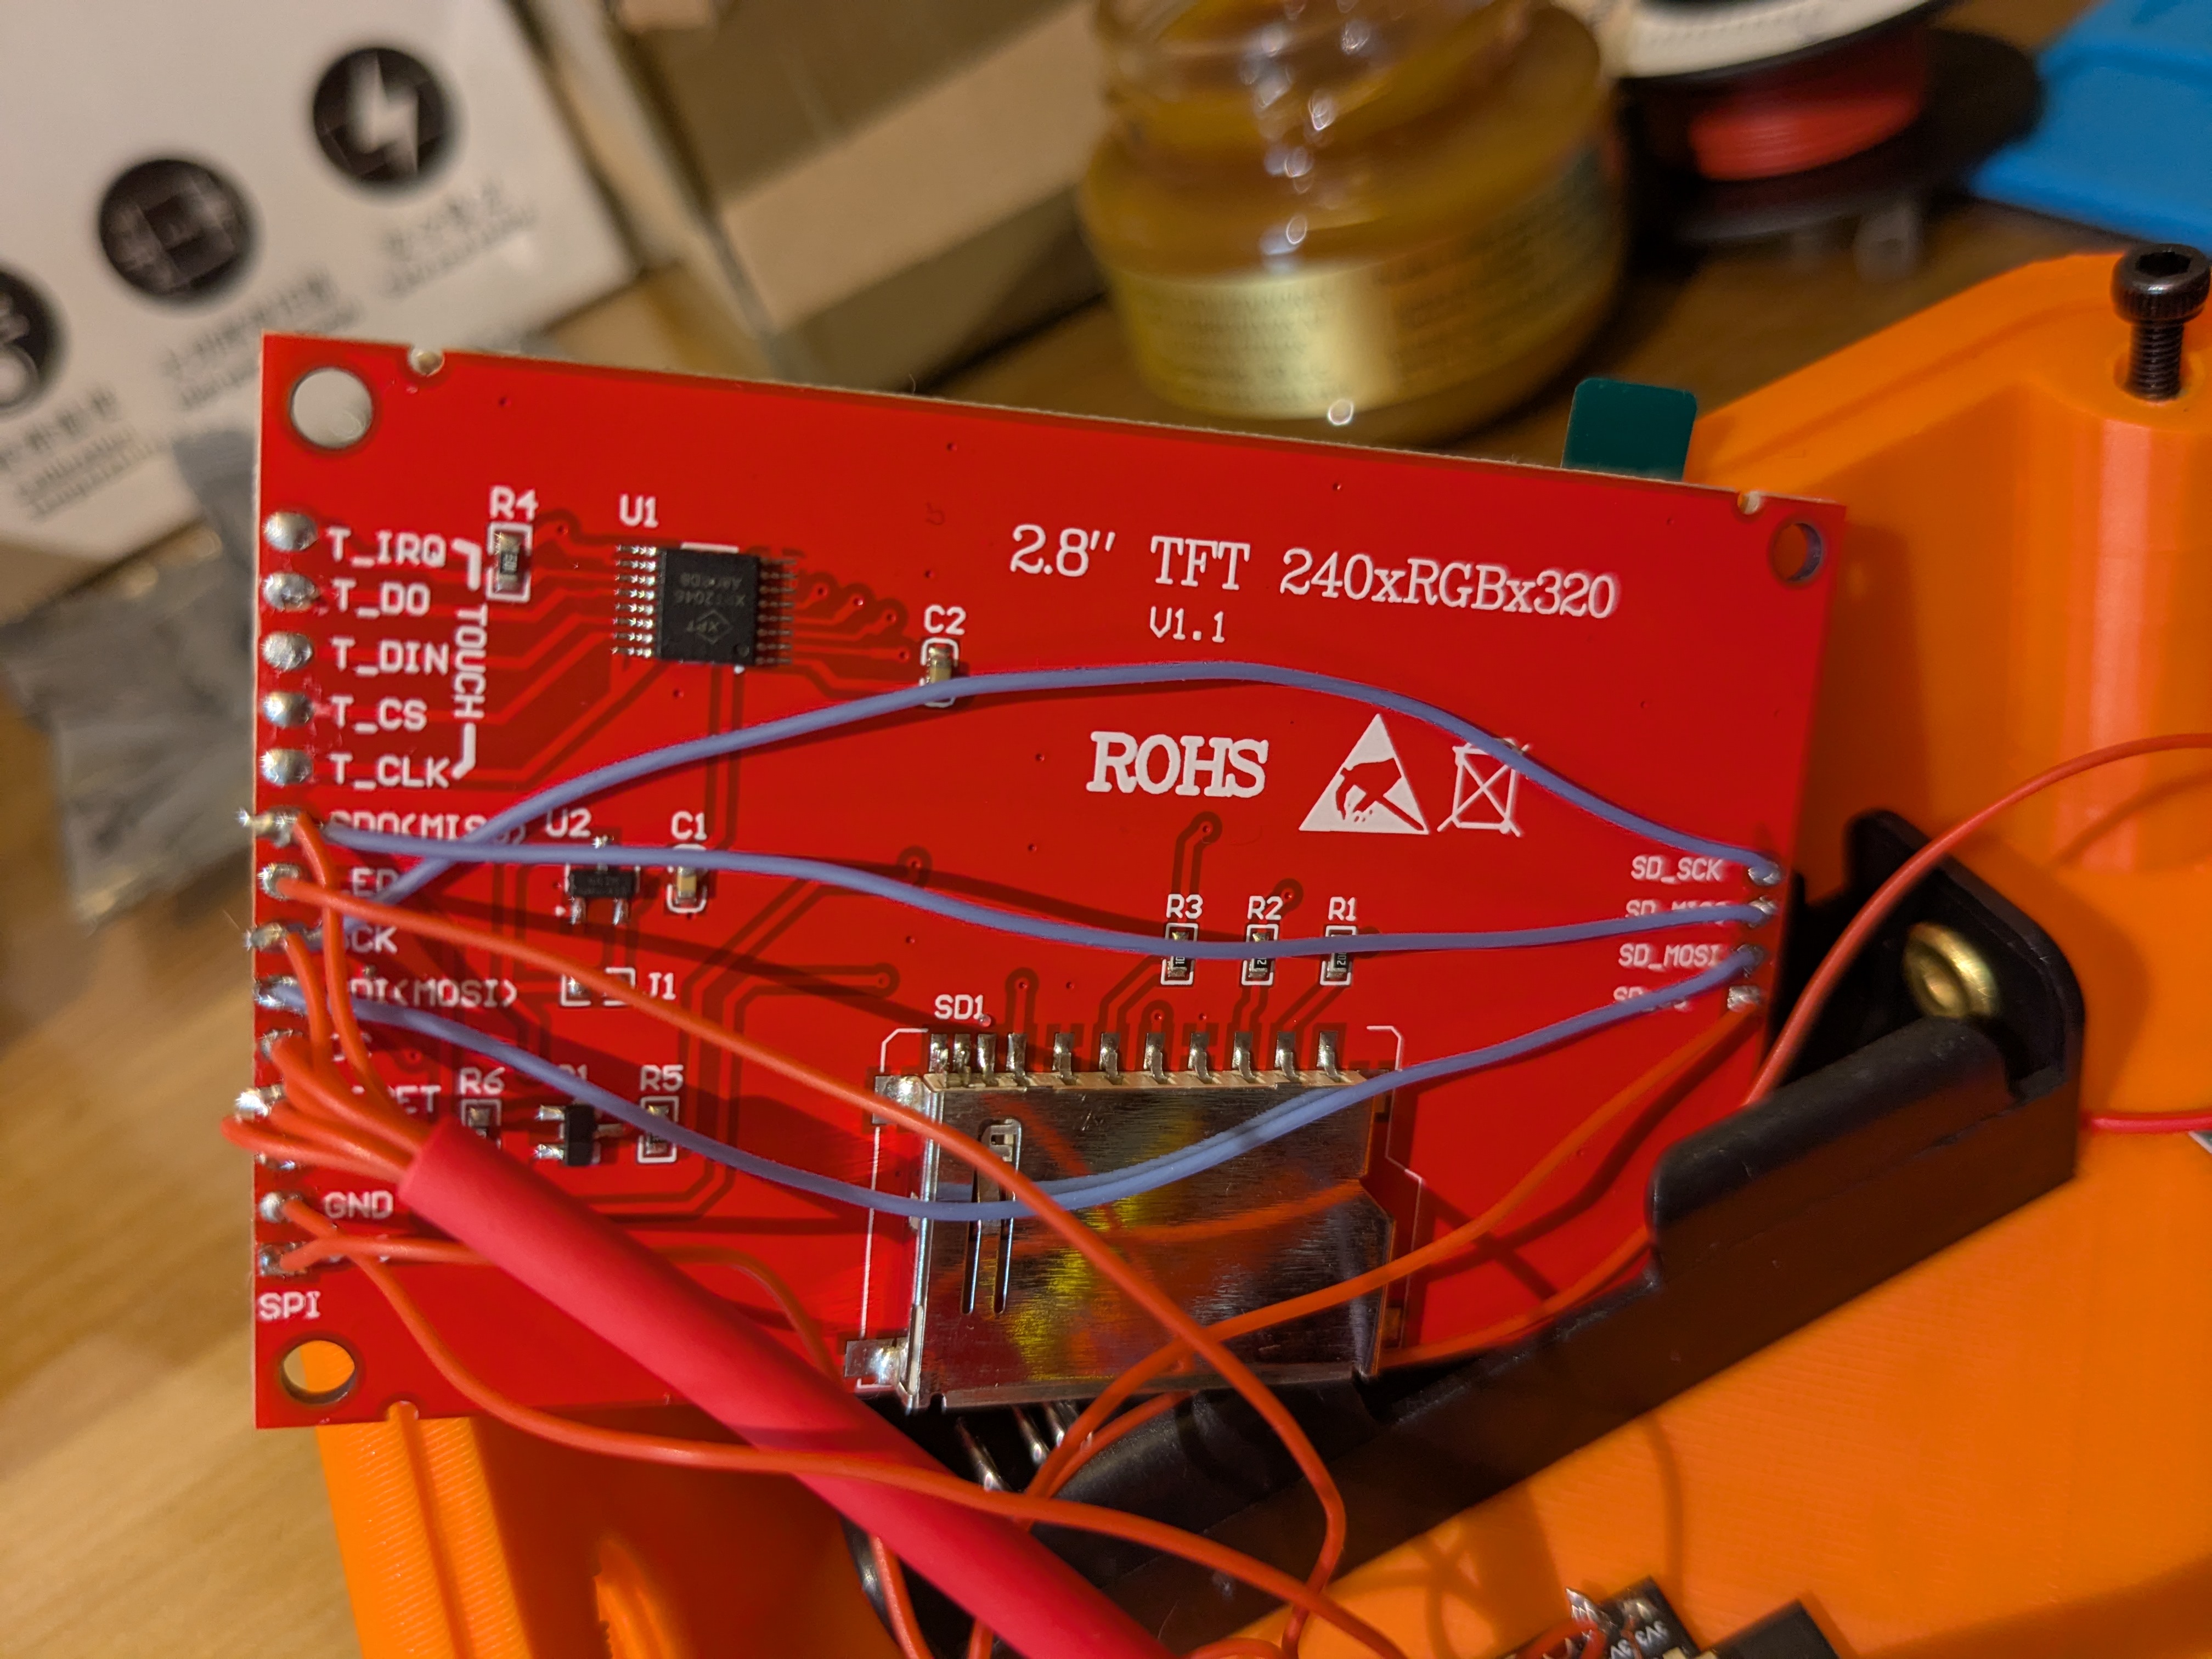
Screen and SD card slot
The next step is to wire up the screen. I would say it was one of the most challenging parts of the build process due to slightly convoluted explanations in the official build guide. So I hope this article will help other people go through it.
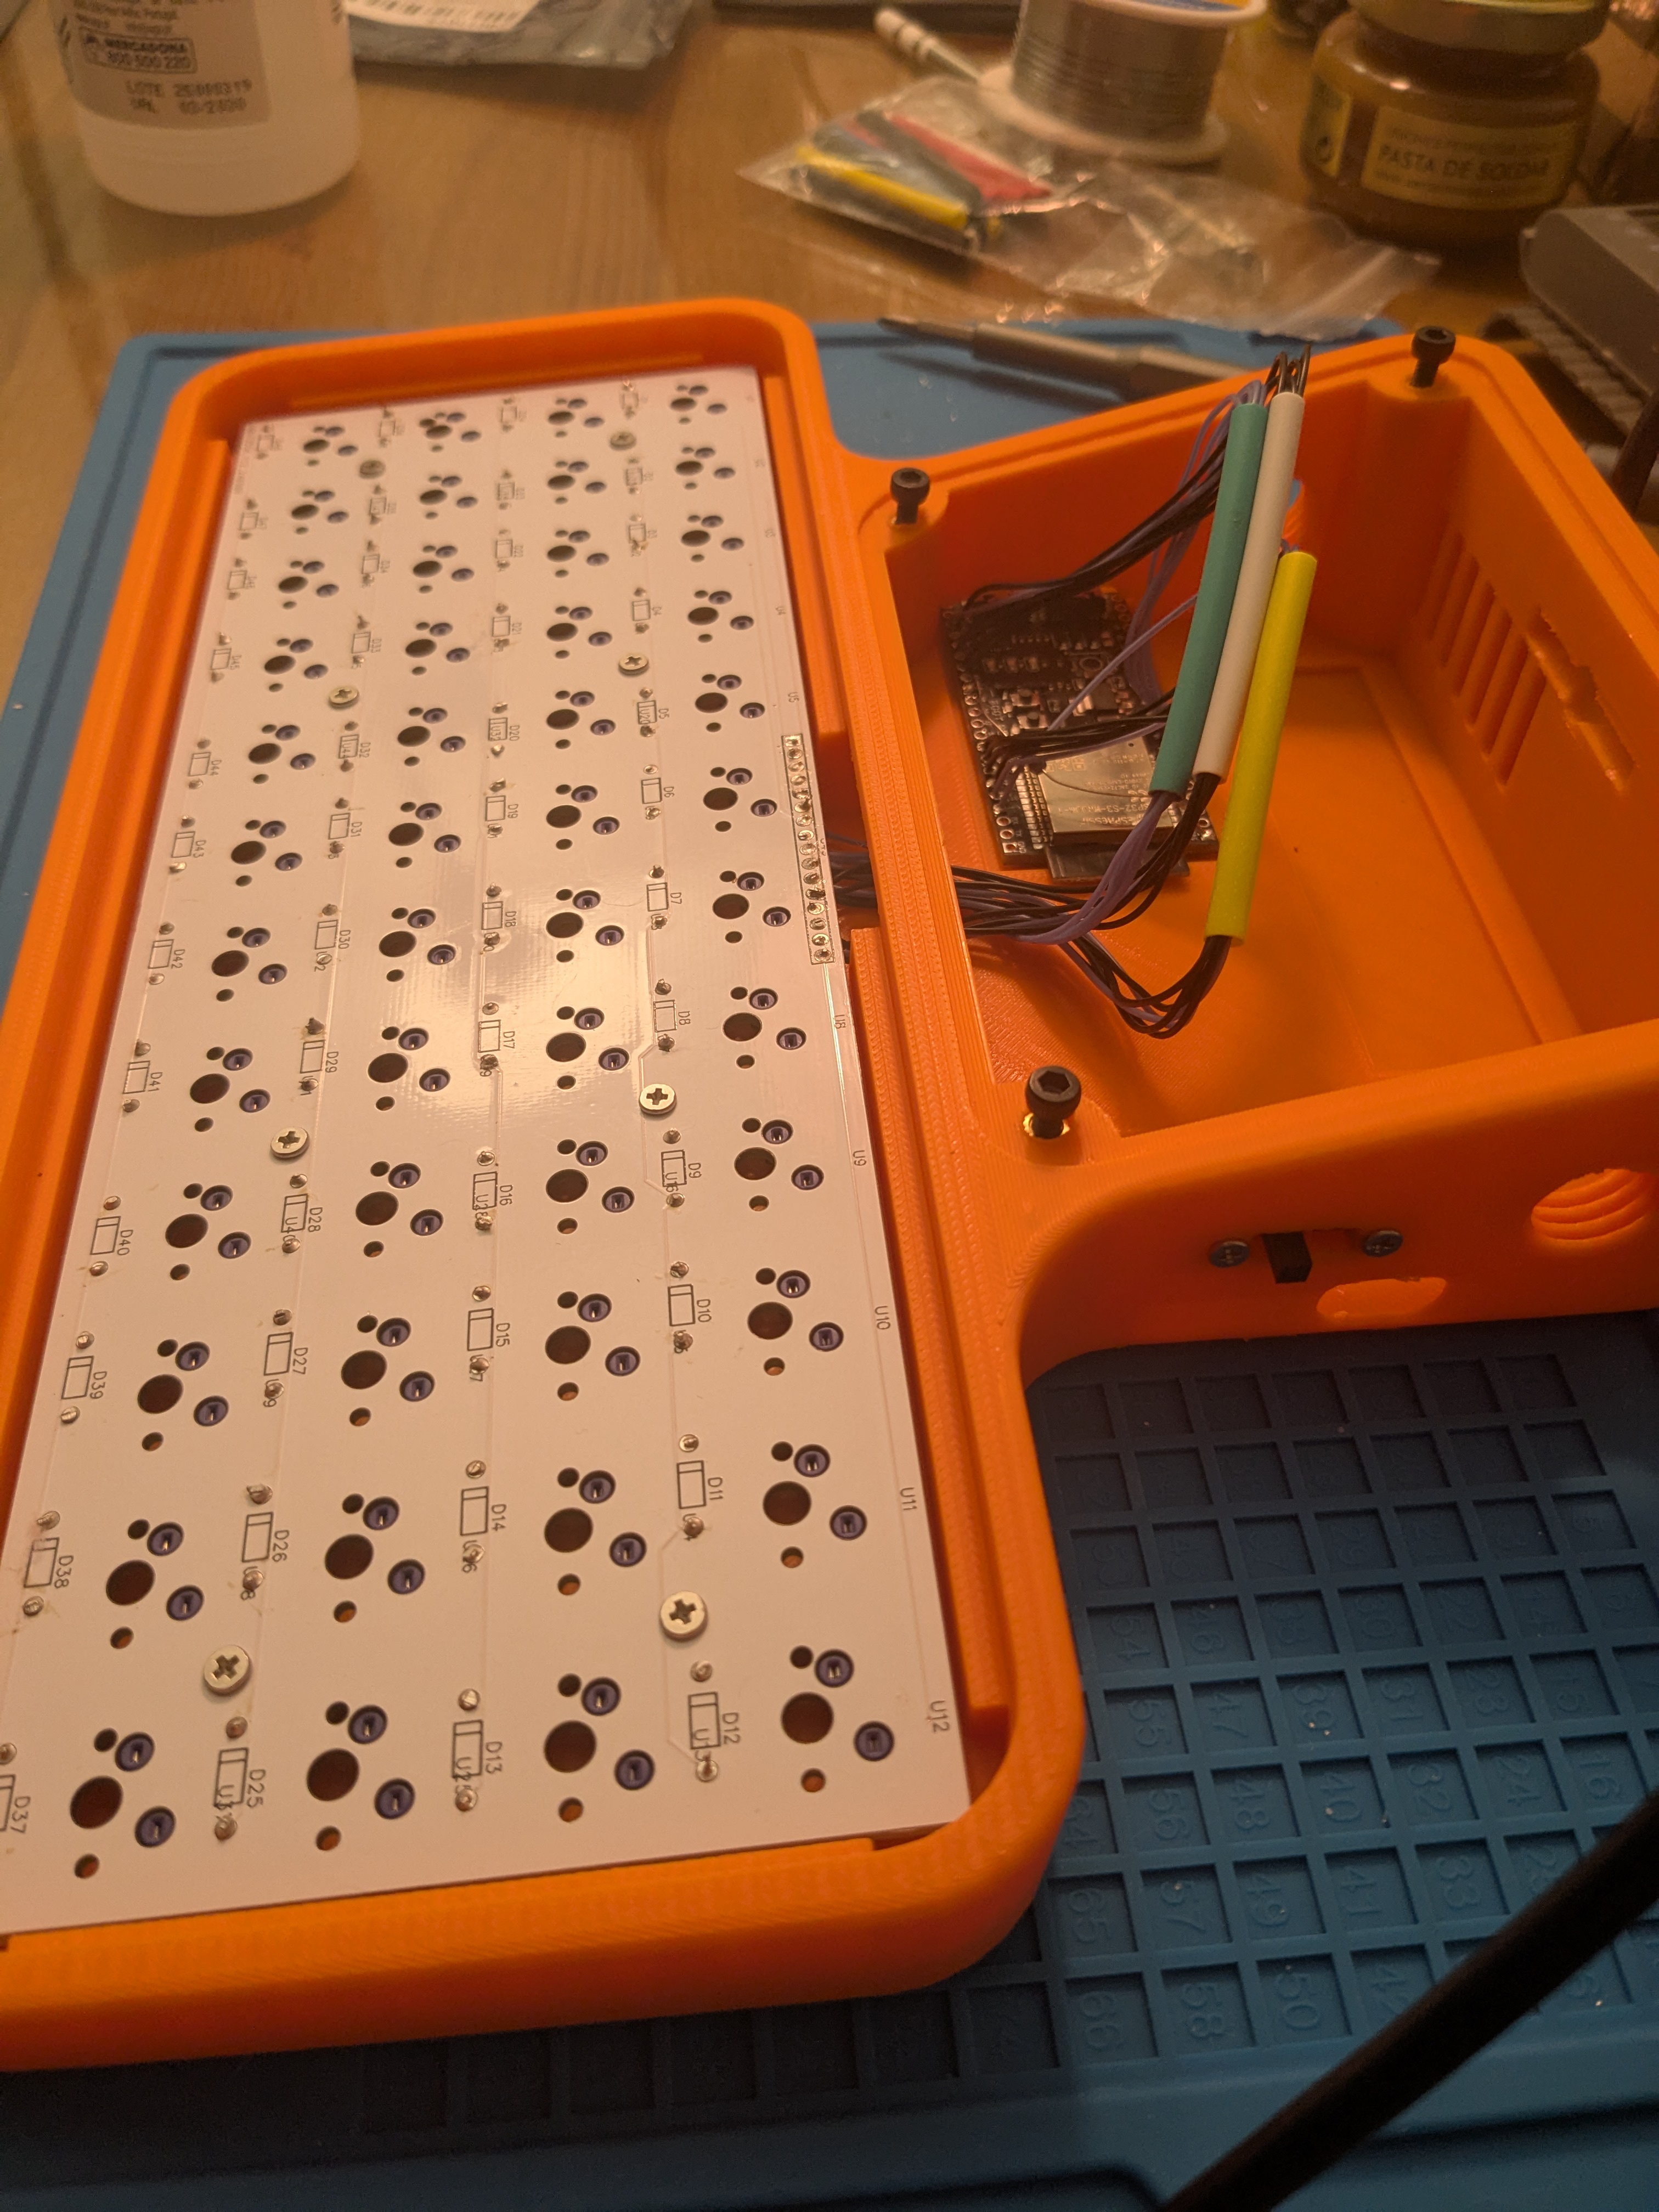
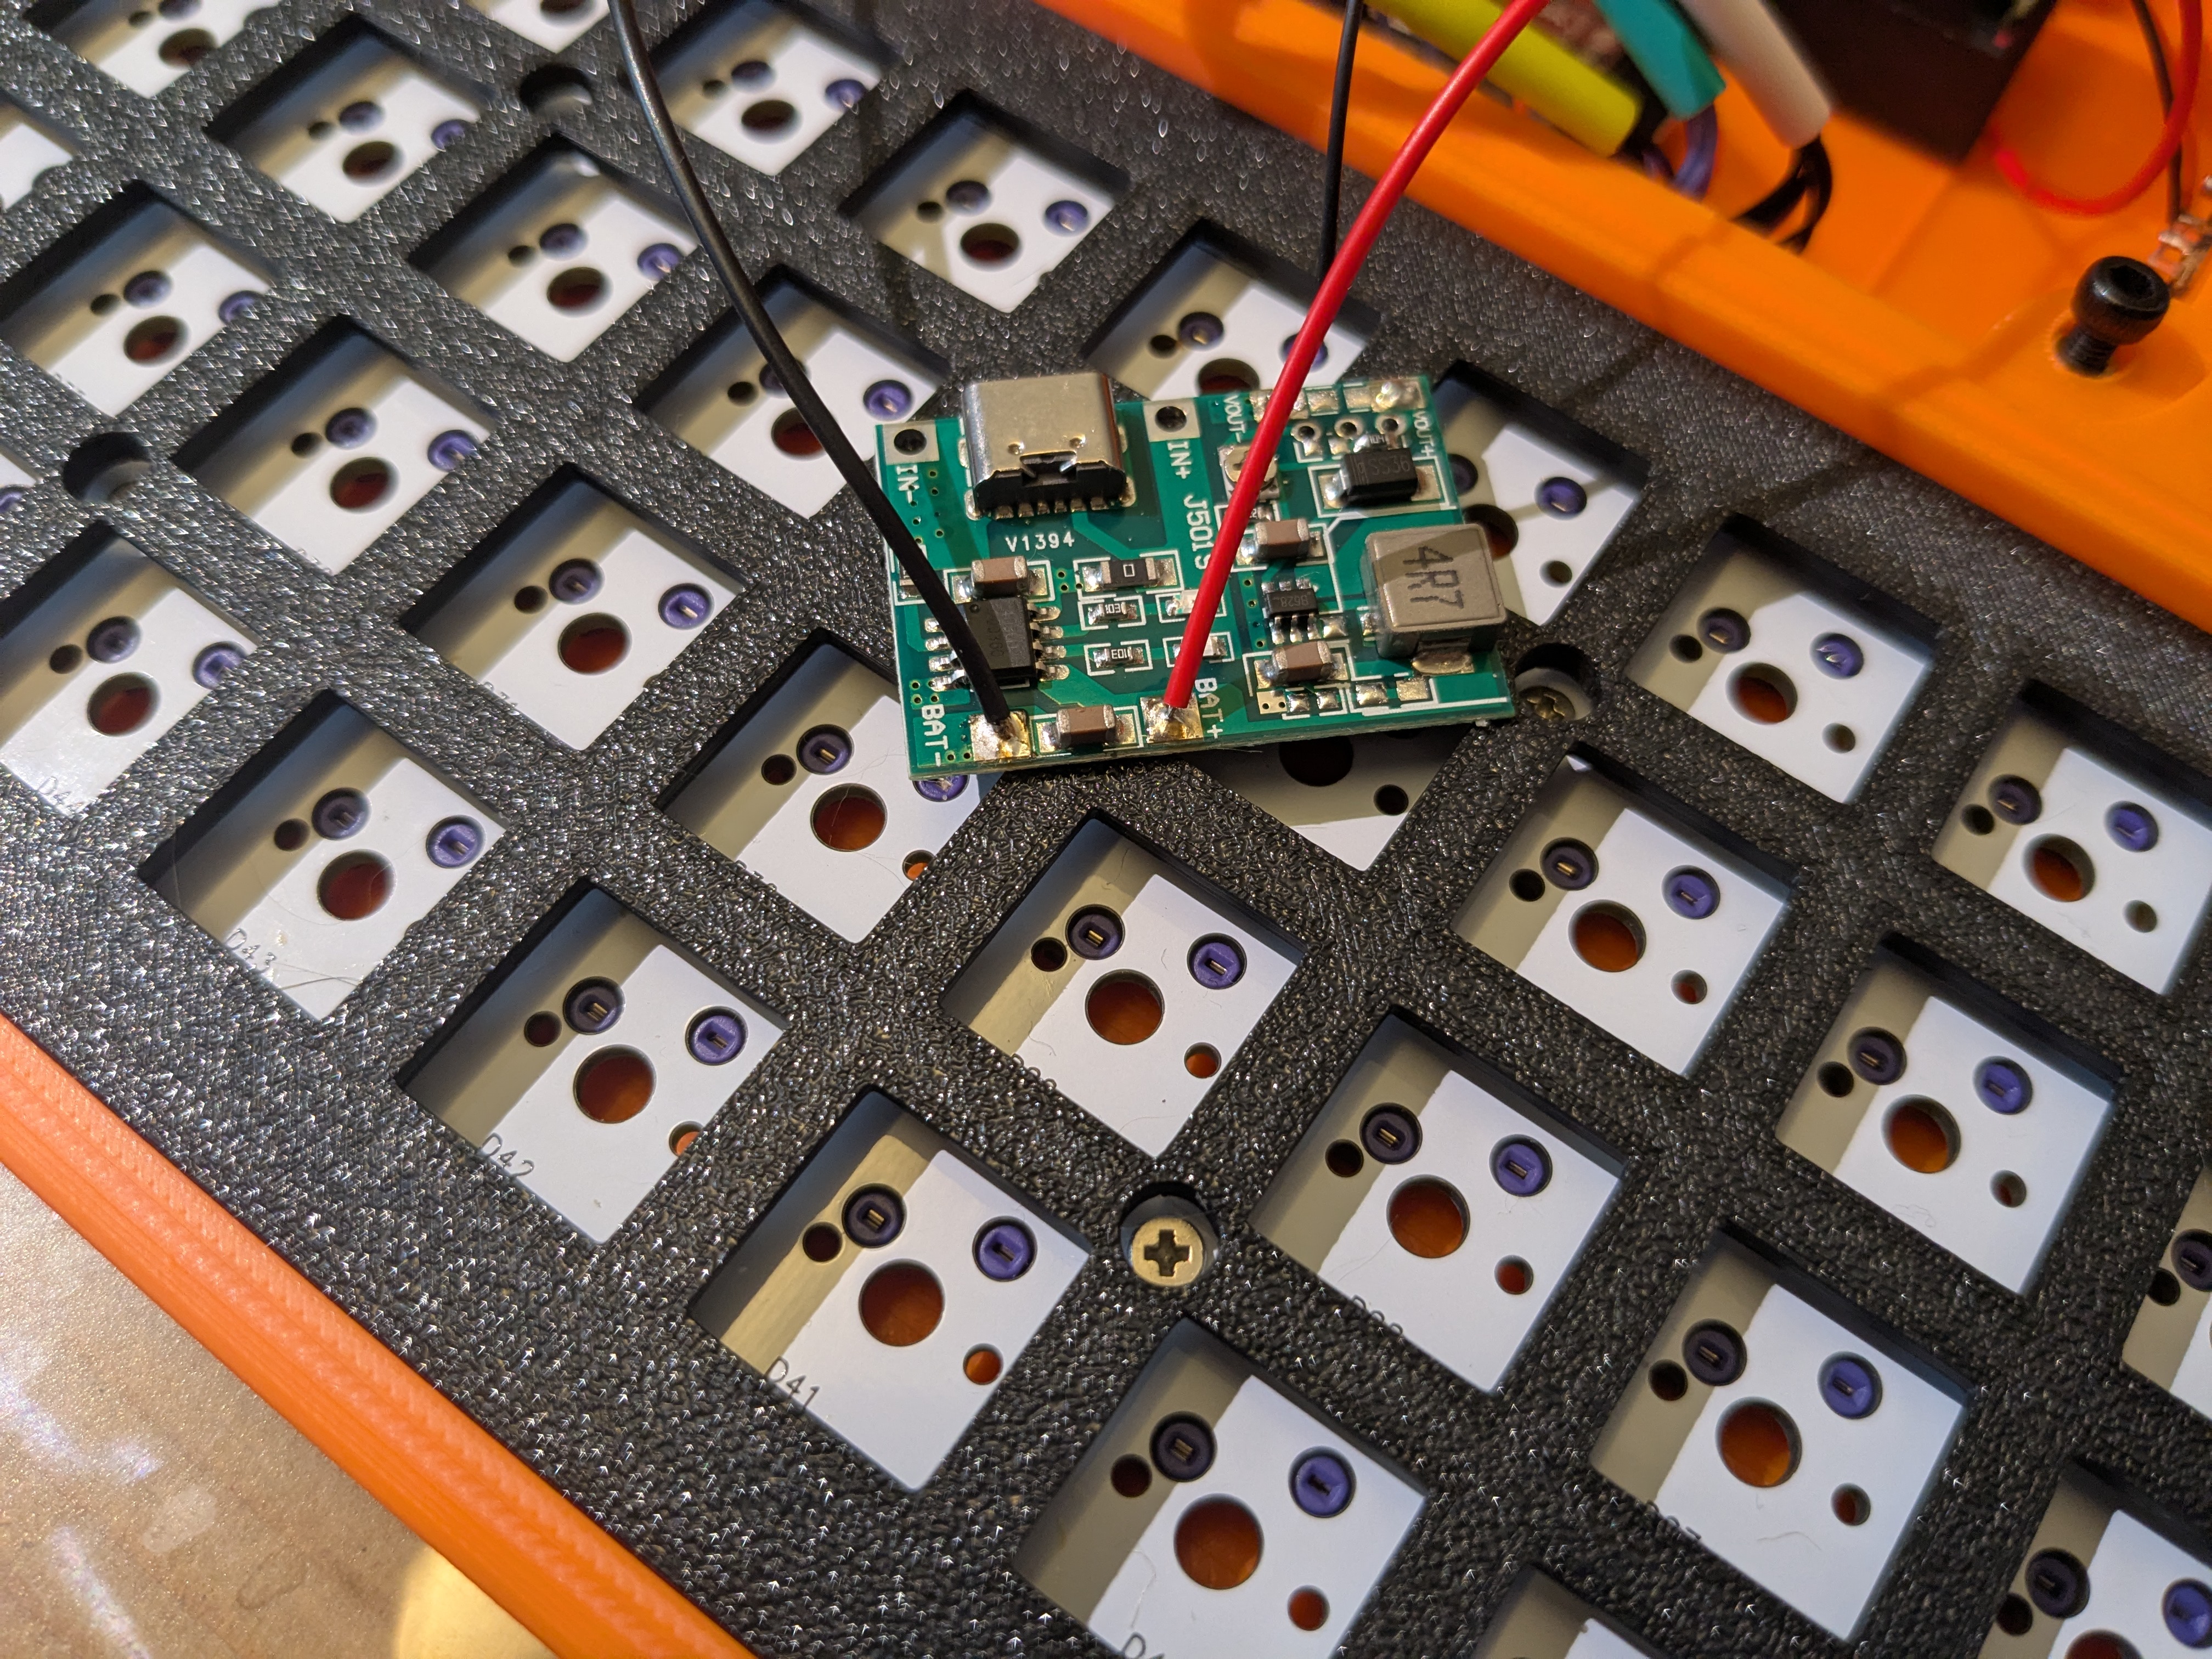
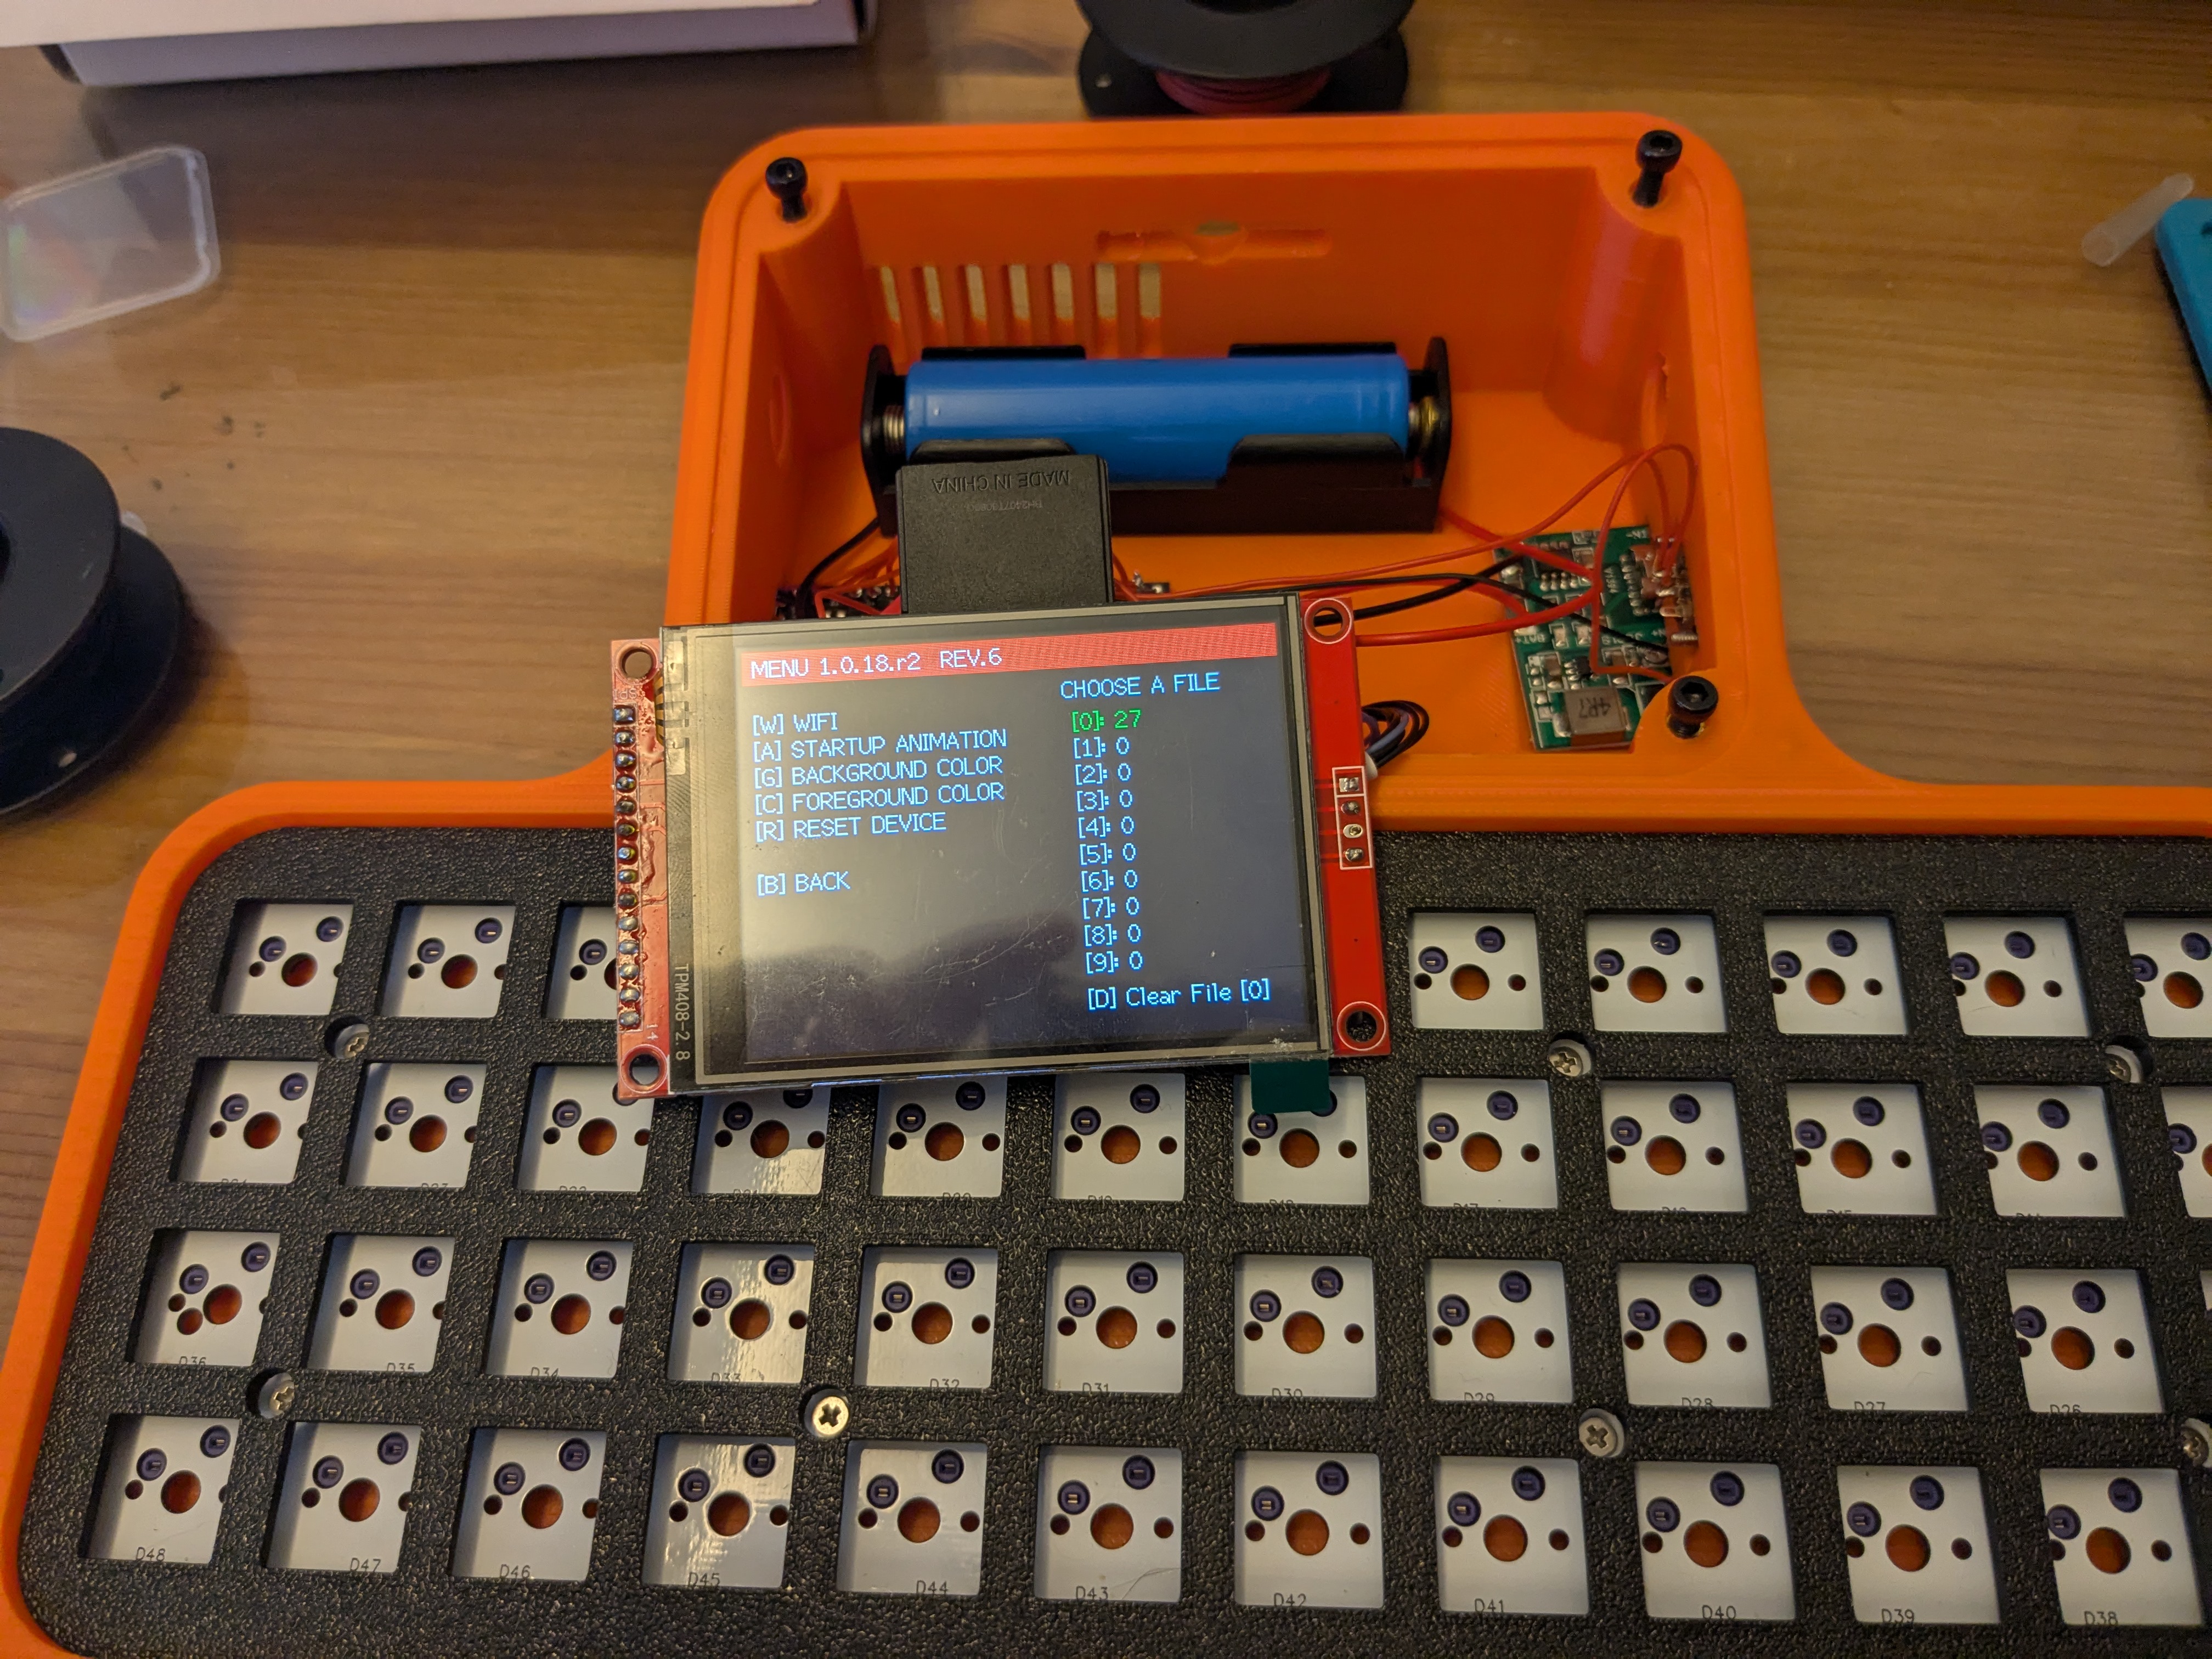
Power supply
Now it’s left to connect a battery charger module, power switch, and battery holder to the ESP32.

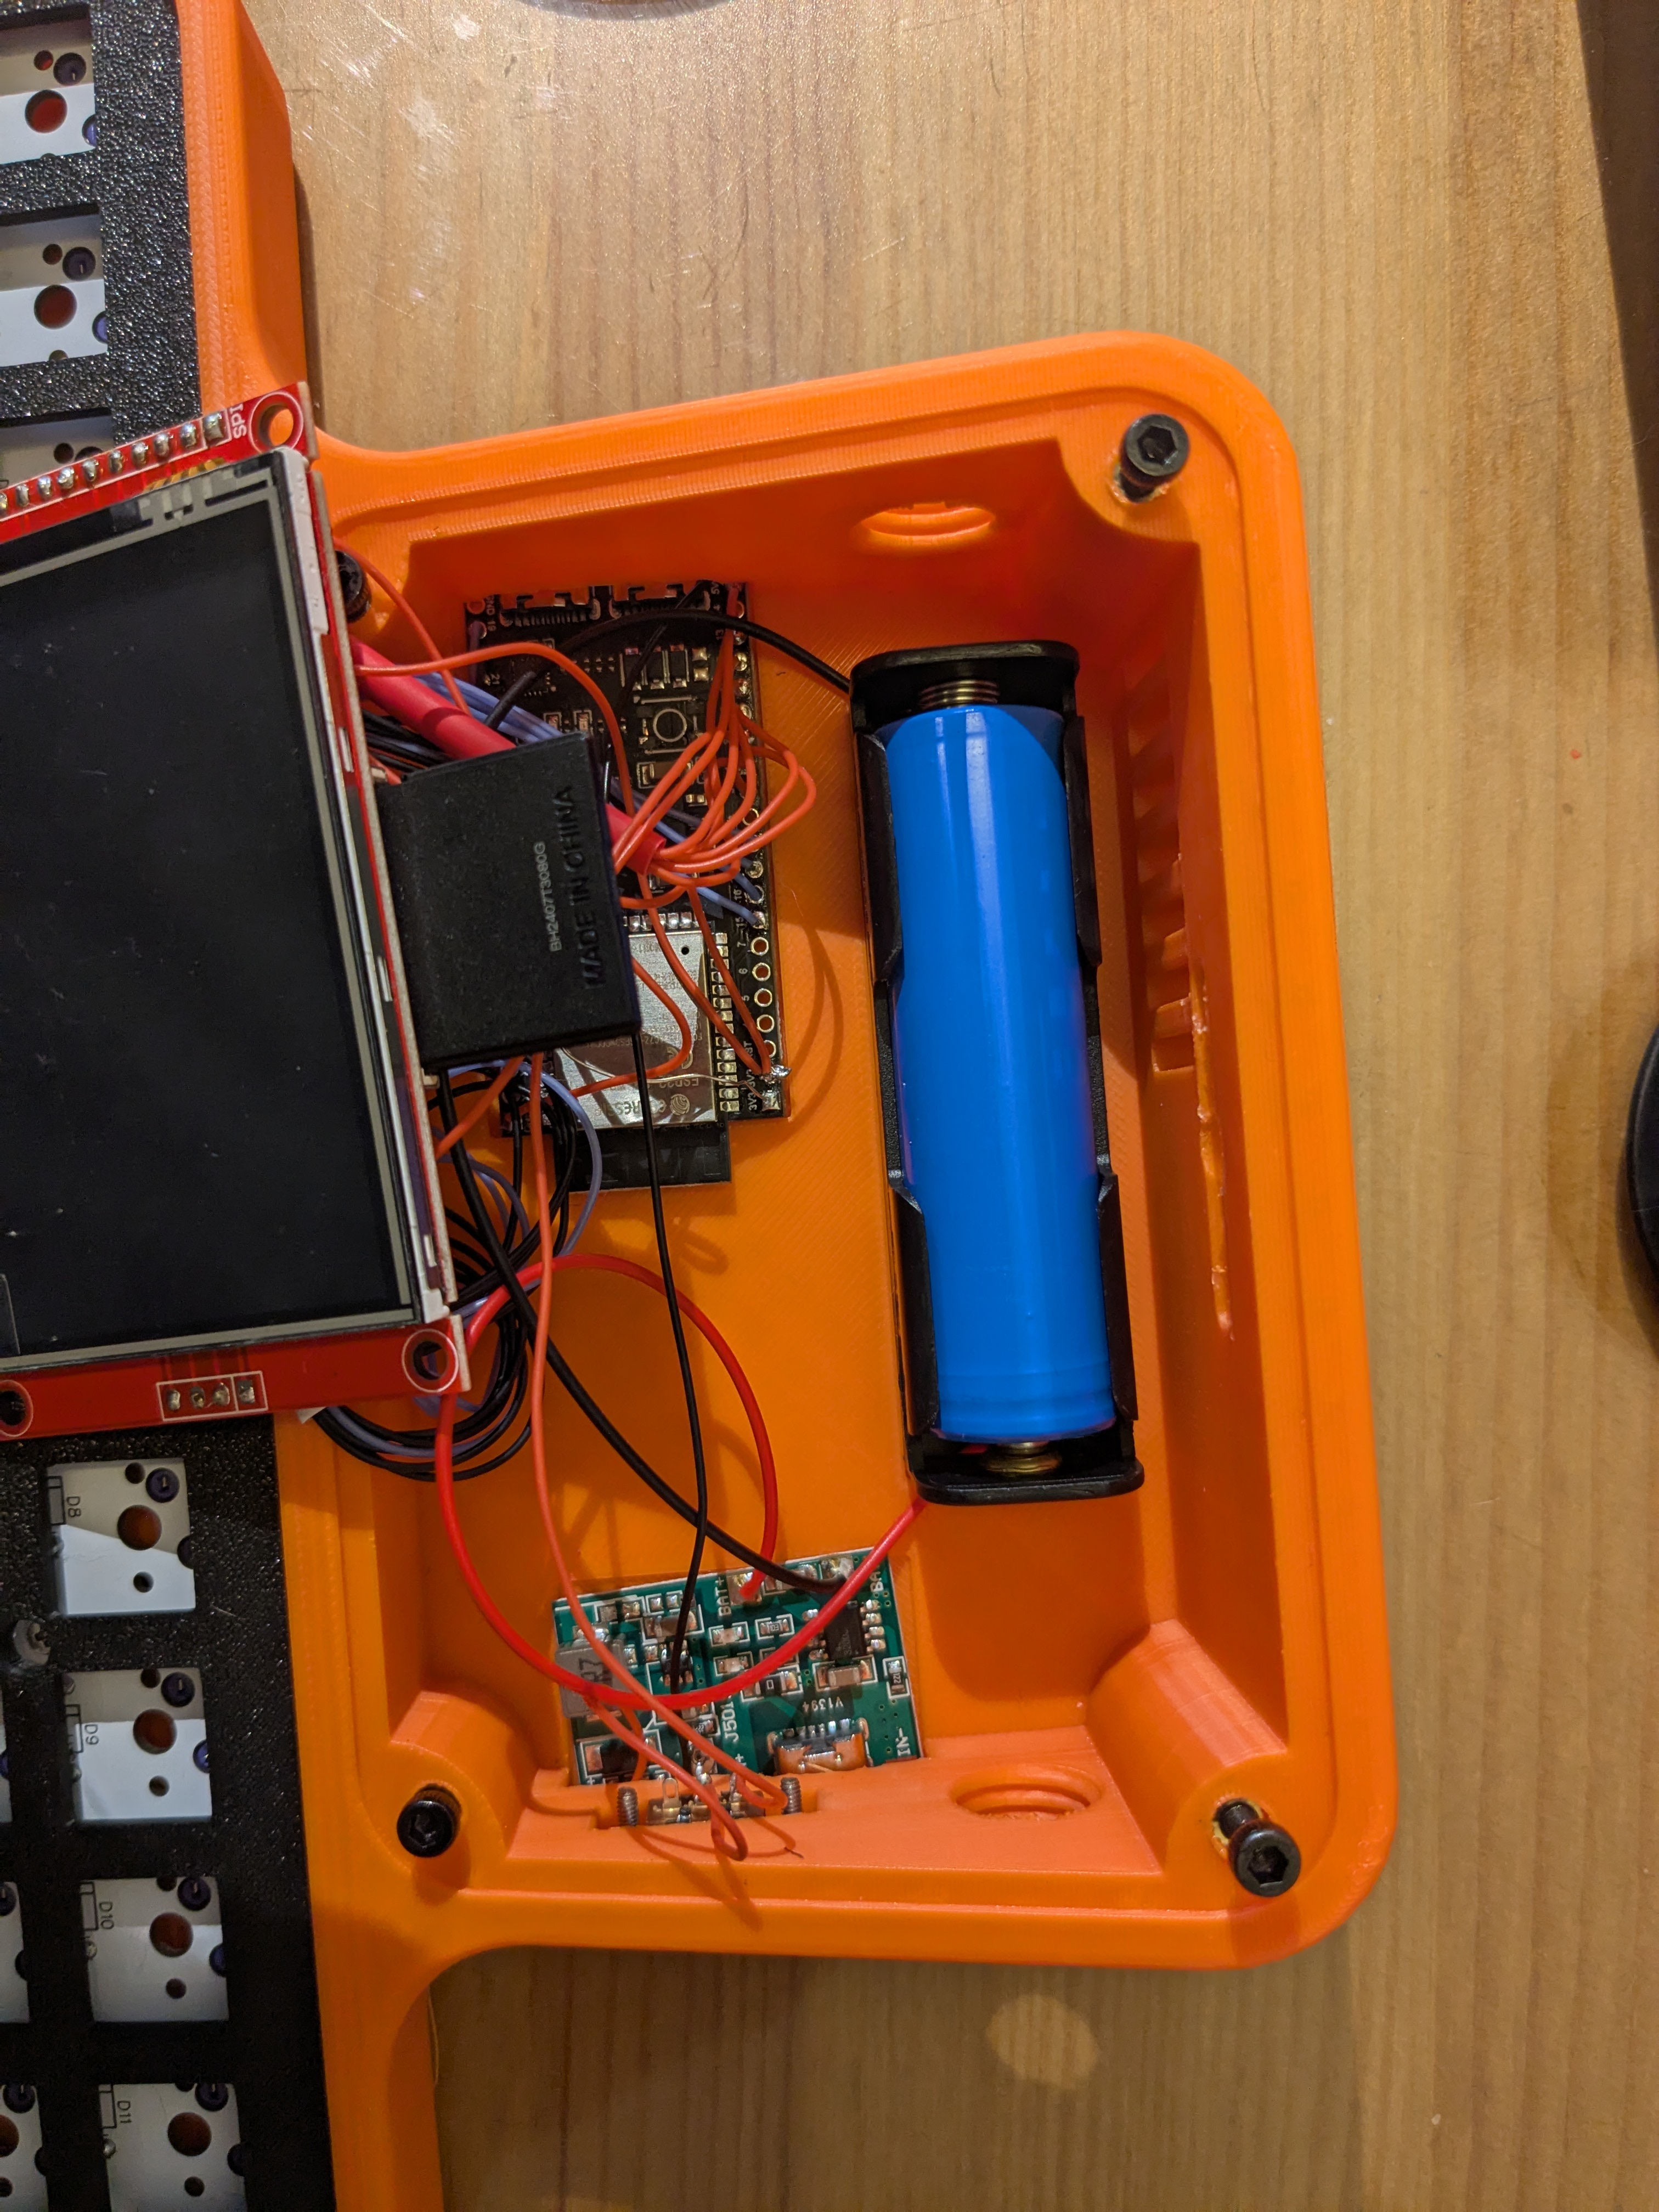
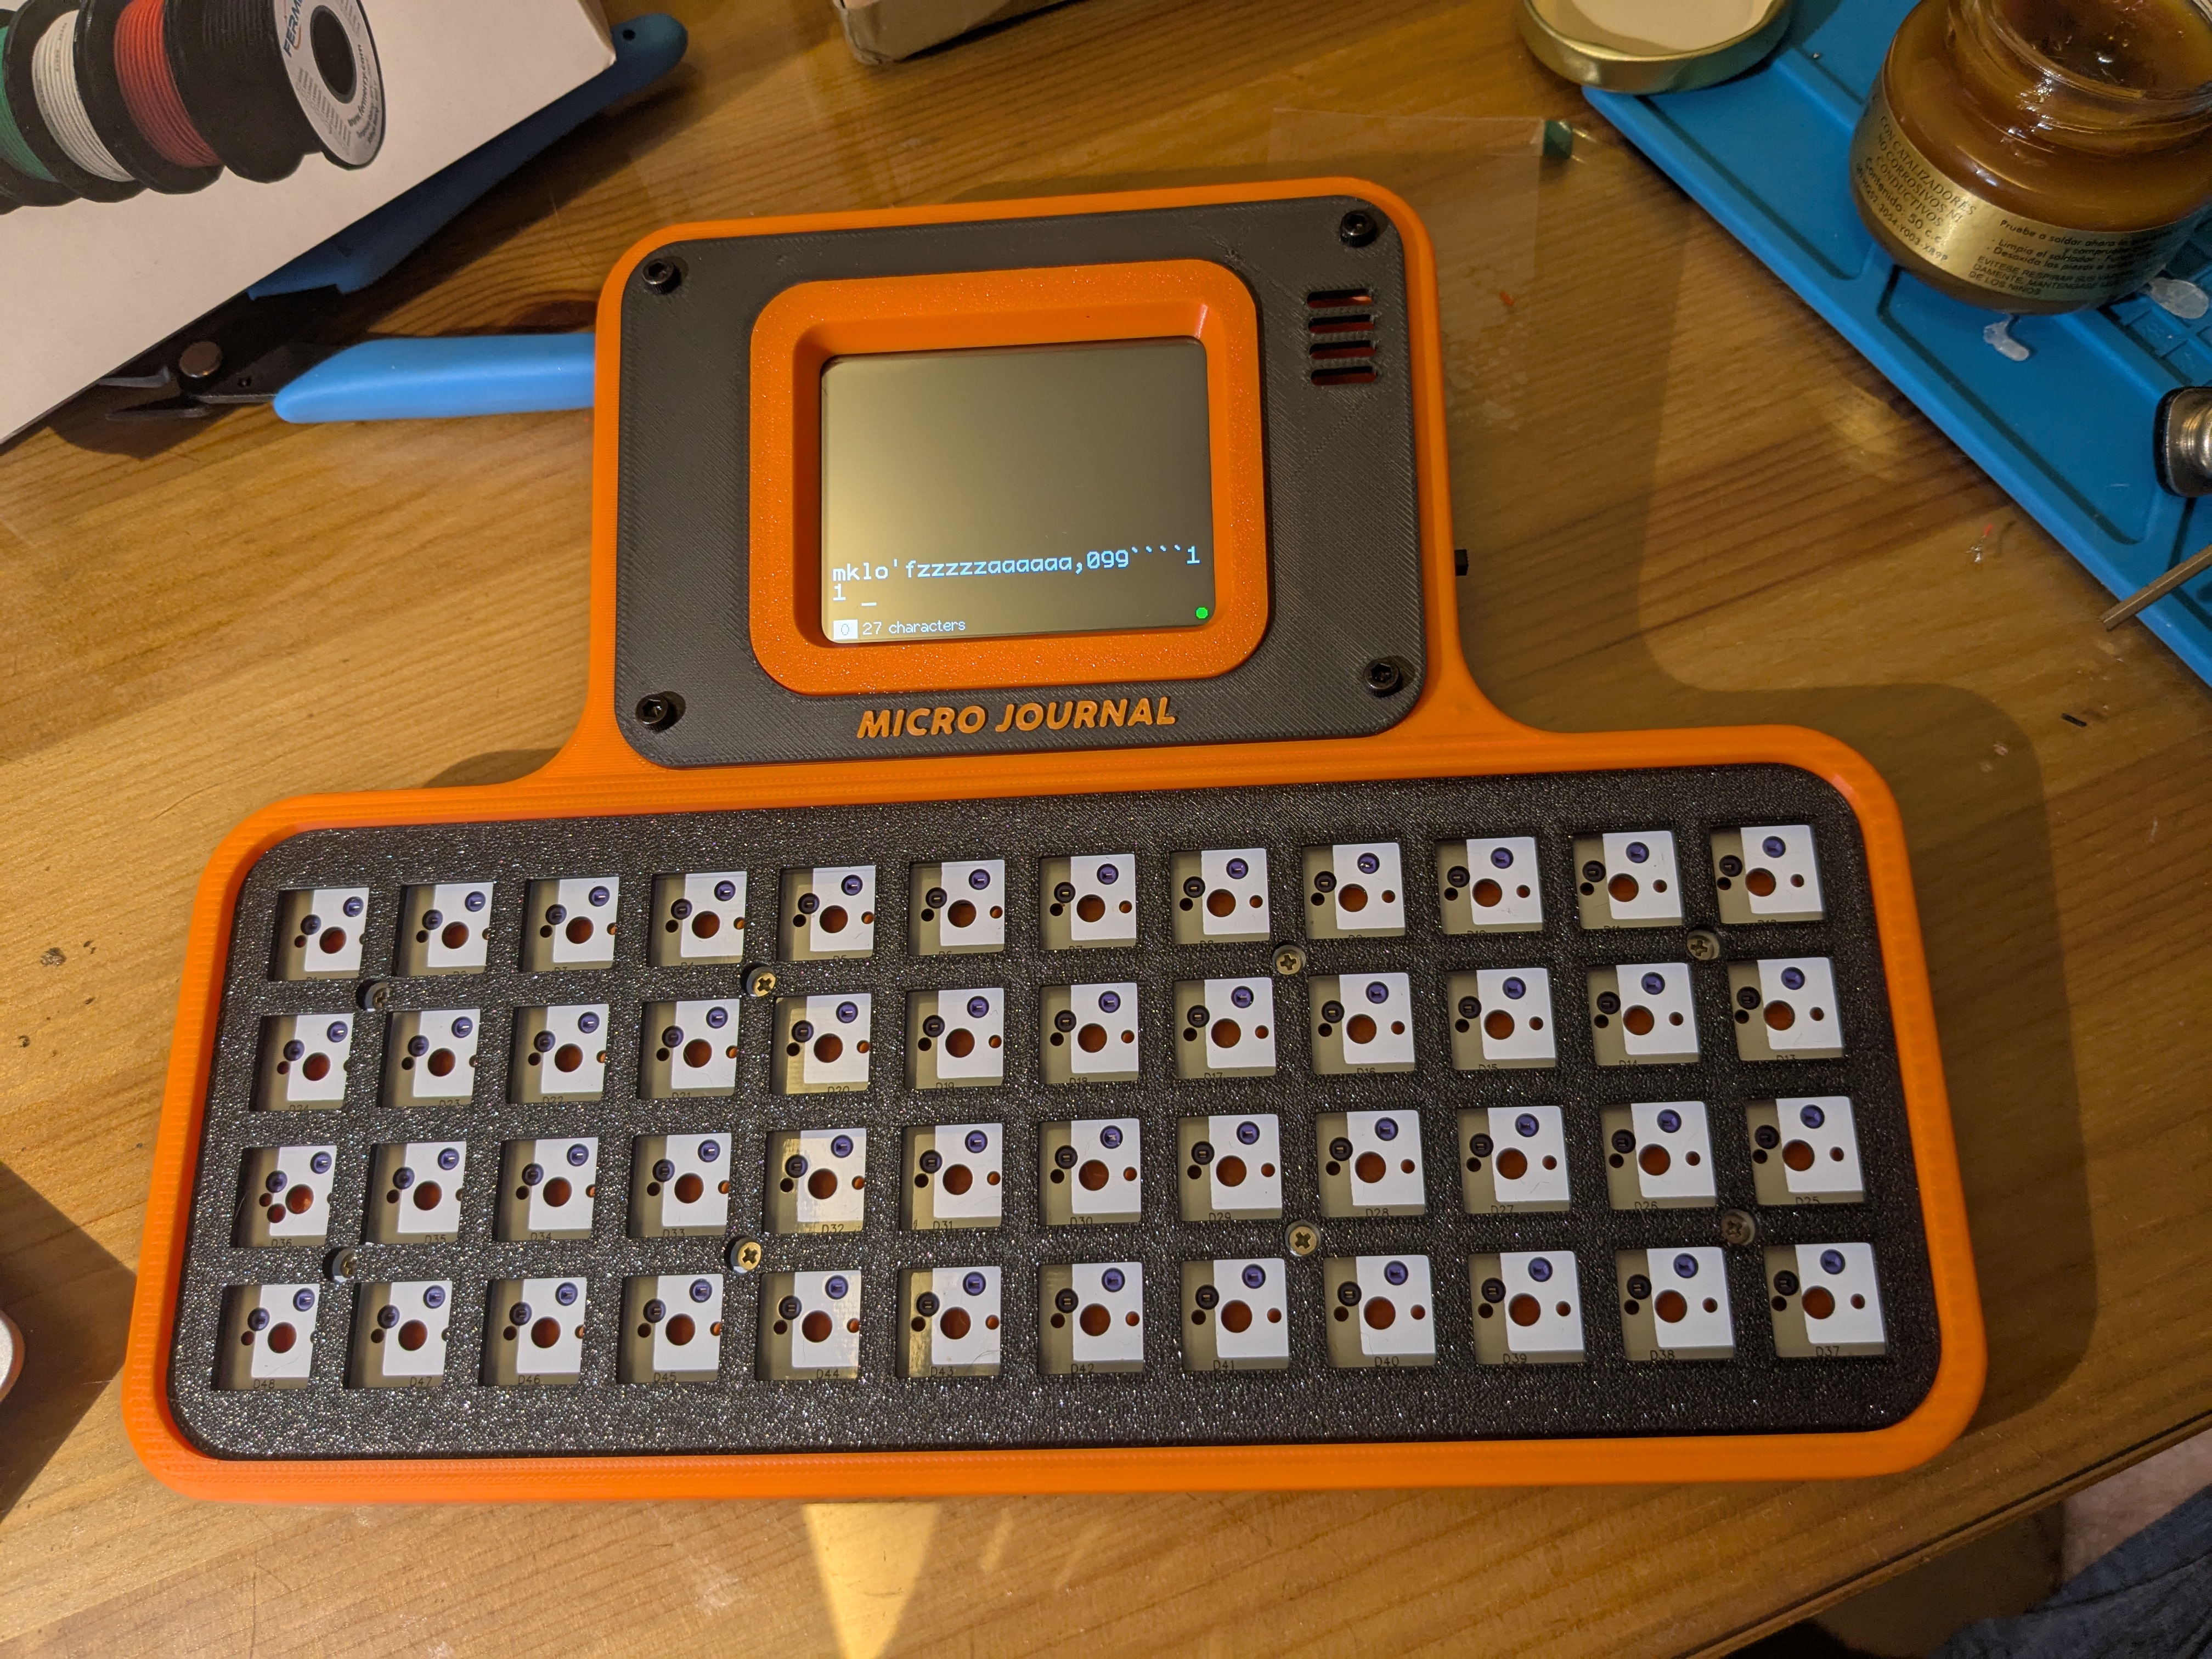
Voilà! We’re ready to run it for the first time!
First run
As I mentioned already, the entire process was quite smooth for me. It worked perfectly on the first attempt.
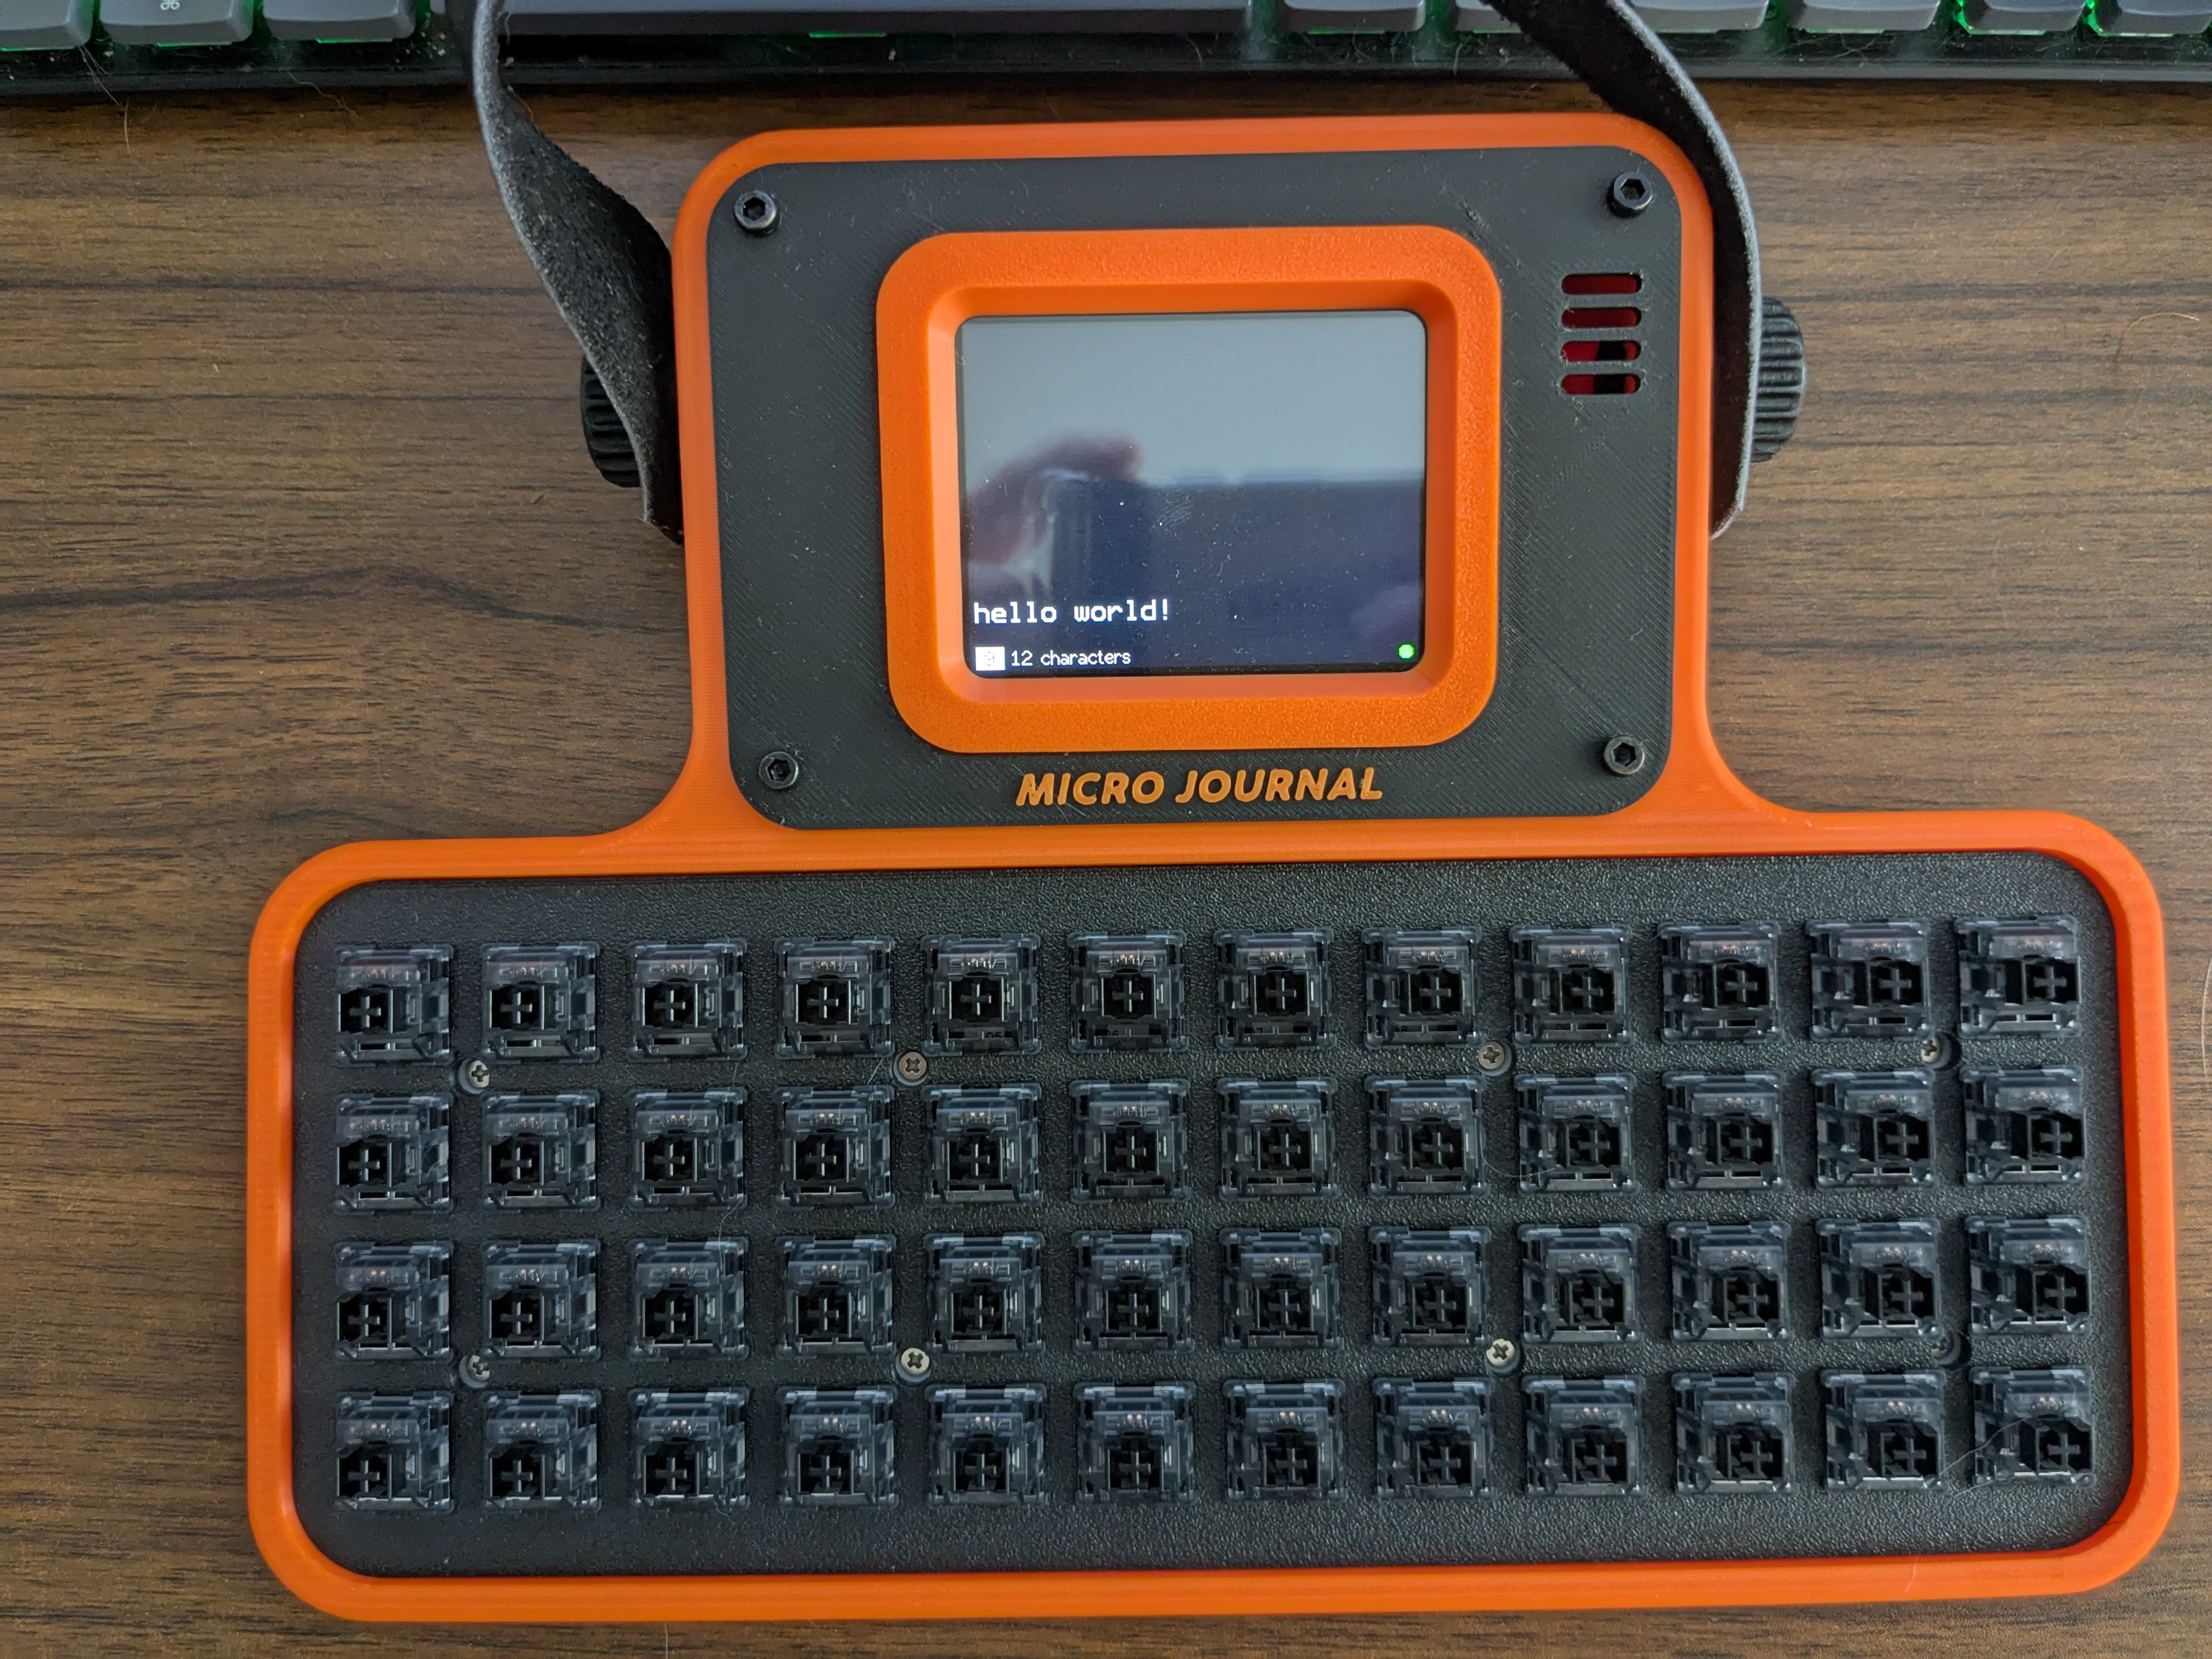
Key switches and keycaps
I decided to hold off on buying key switches and keycaps until I make sure the device is functioning properly.
Somehow, I came across Akko V3 Cream Black Pro switches and bought them at the official web store. I had to get two items instead of one since I need 48 switches when each item contains 45 pieces. But this is not a big deal considering the price.
Surprisingly, new keycaps may easily cost you more than $100. Fortunately, the second-hand market is flourishing, and you can find pretty neat stuff for a small amount of money.
I found my new beautiful Japanese keycaps on Vinted for around $20.
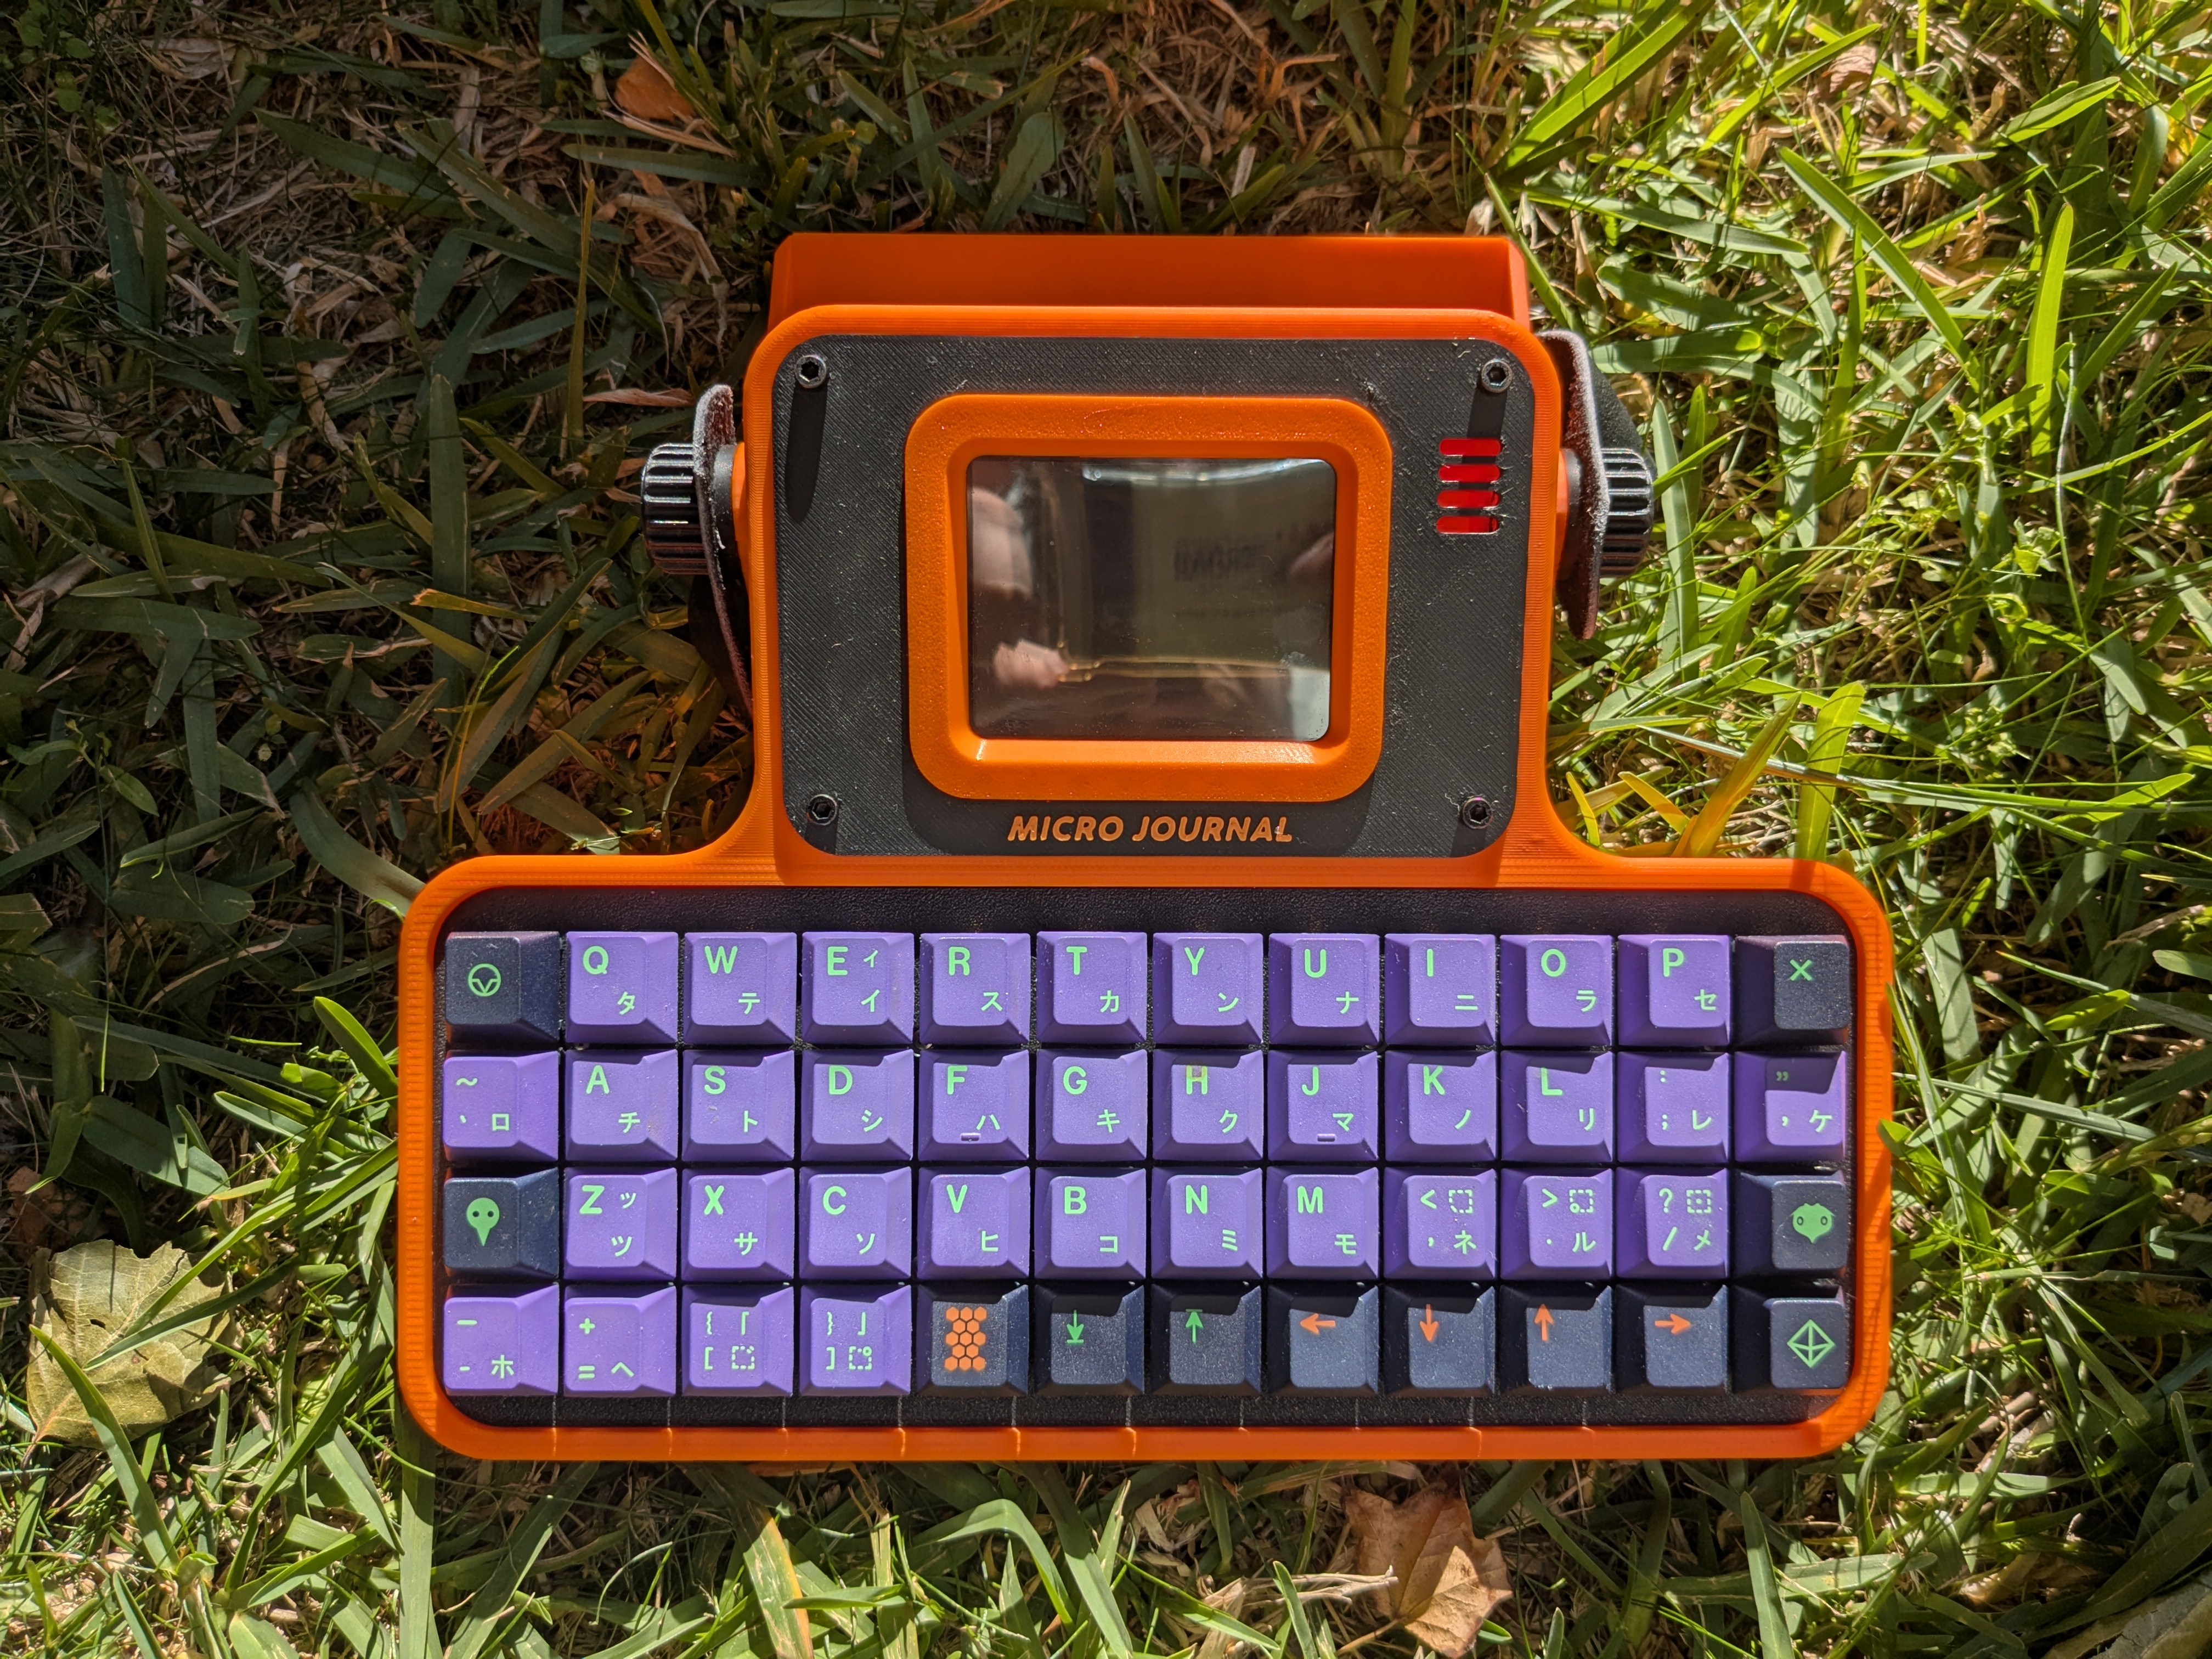
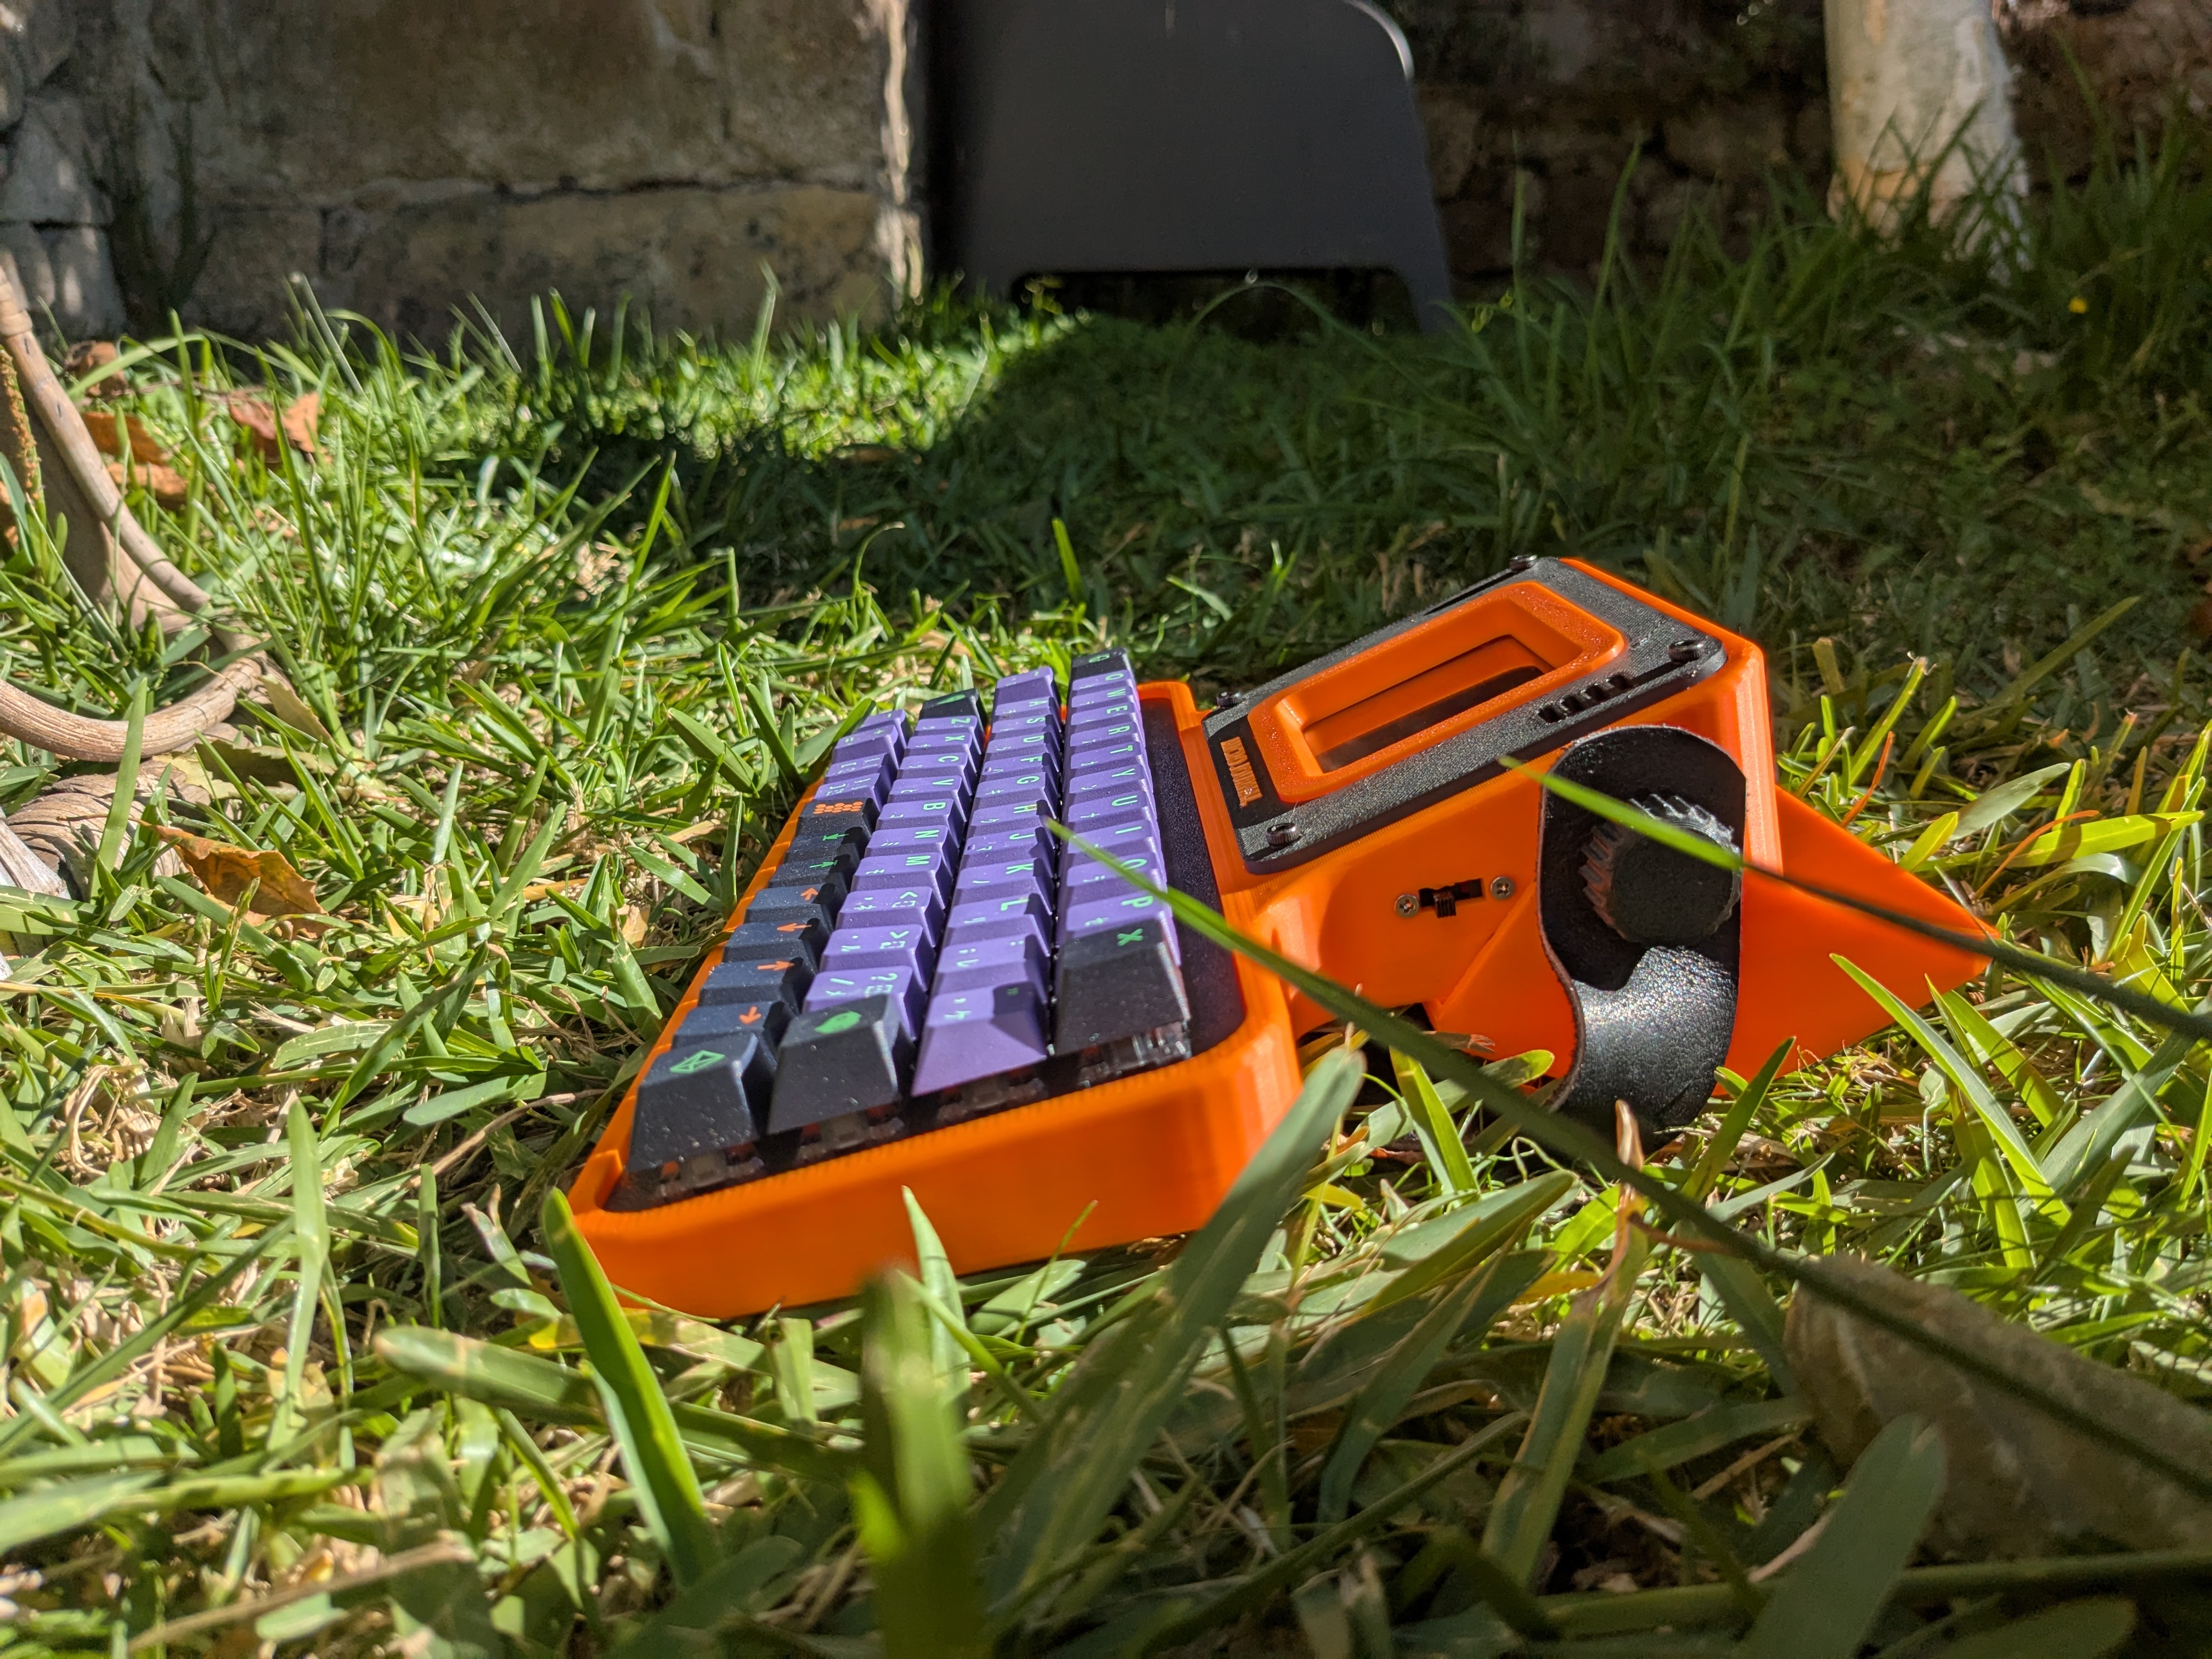
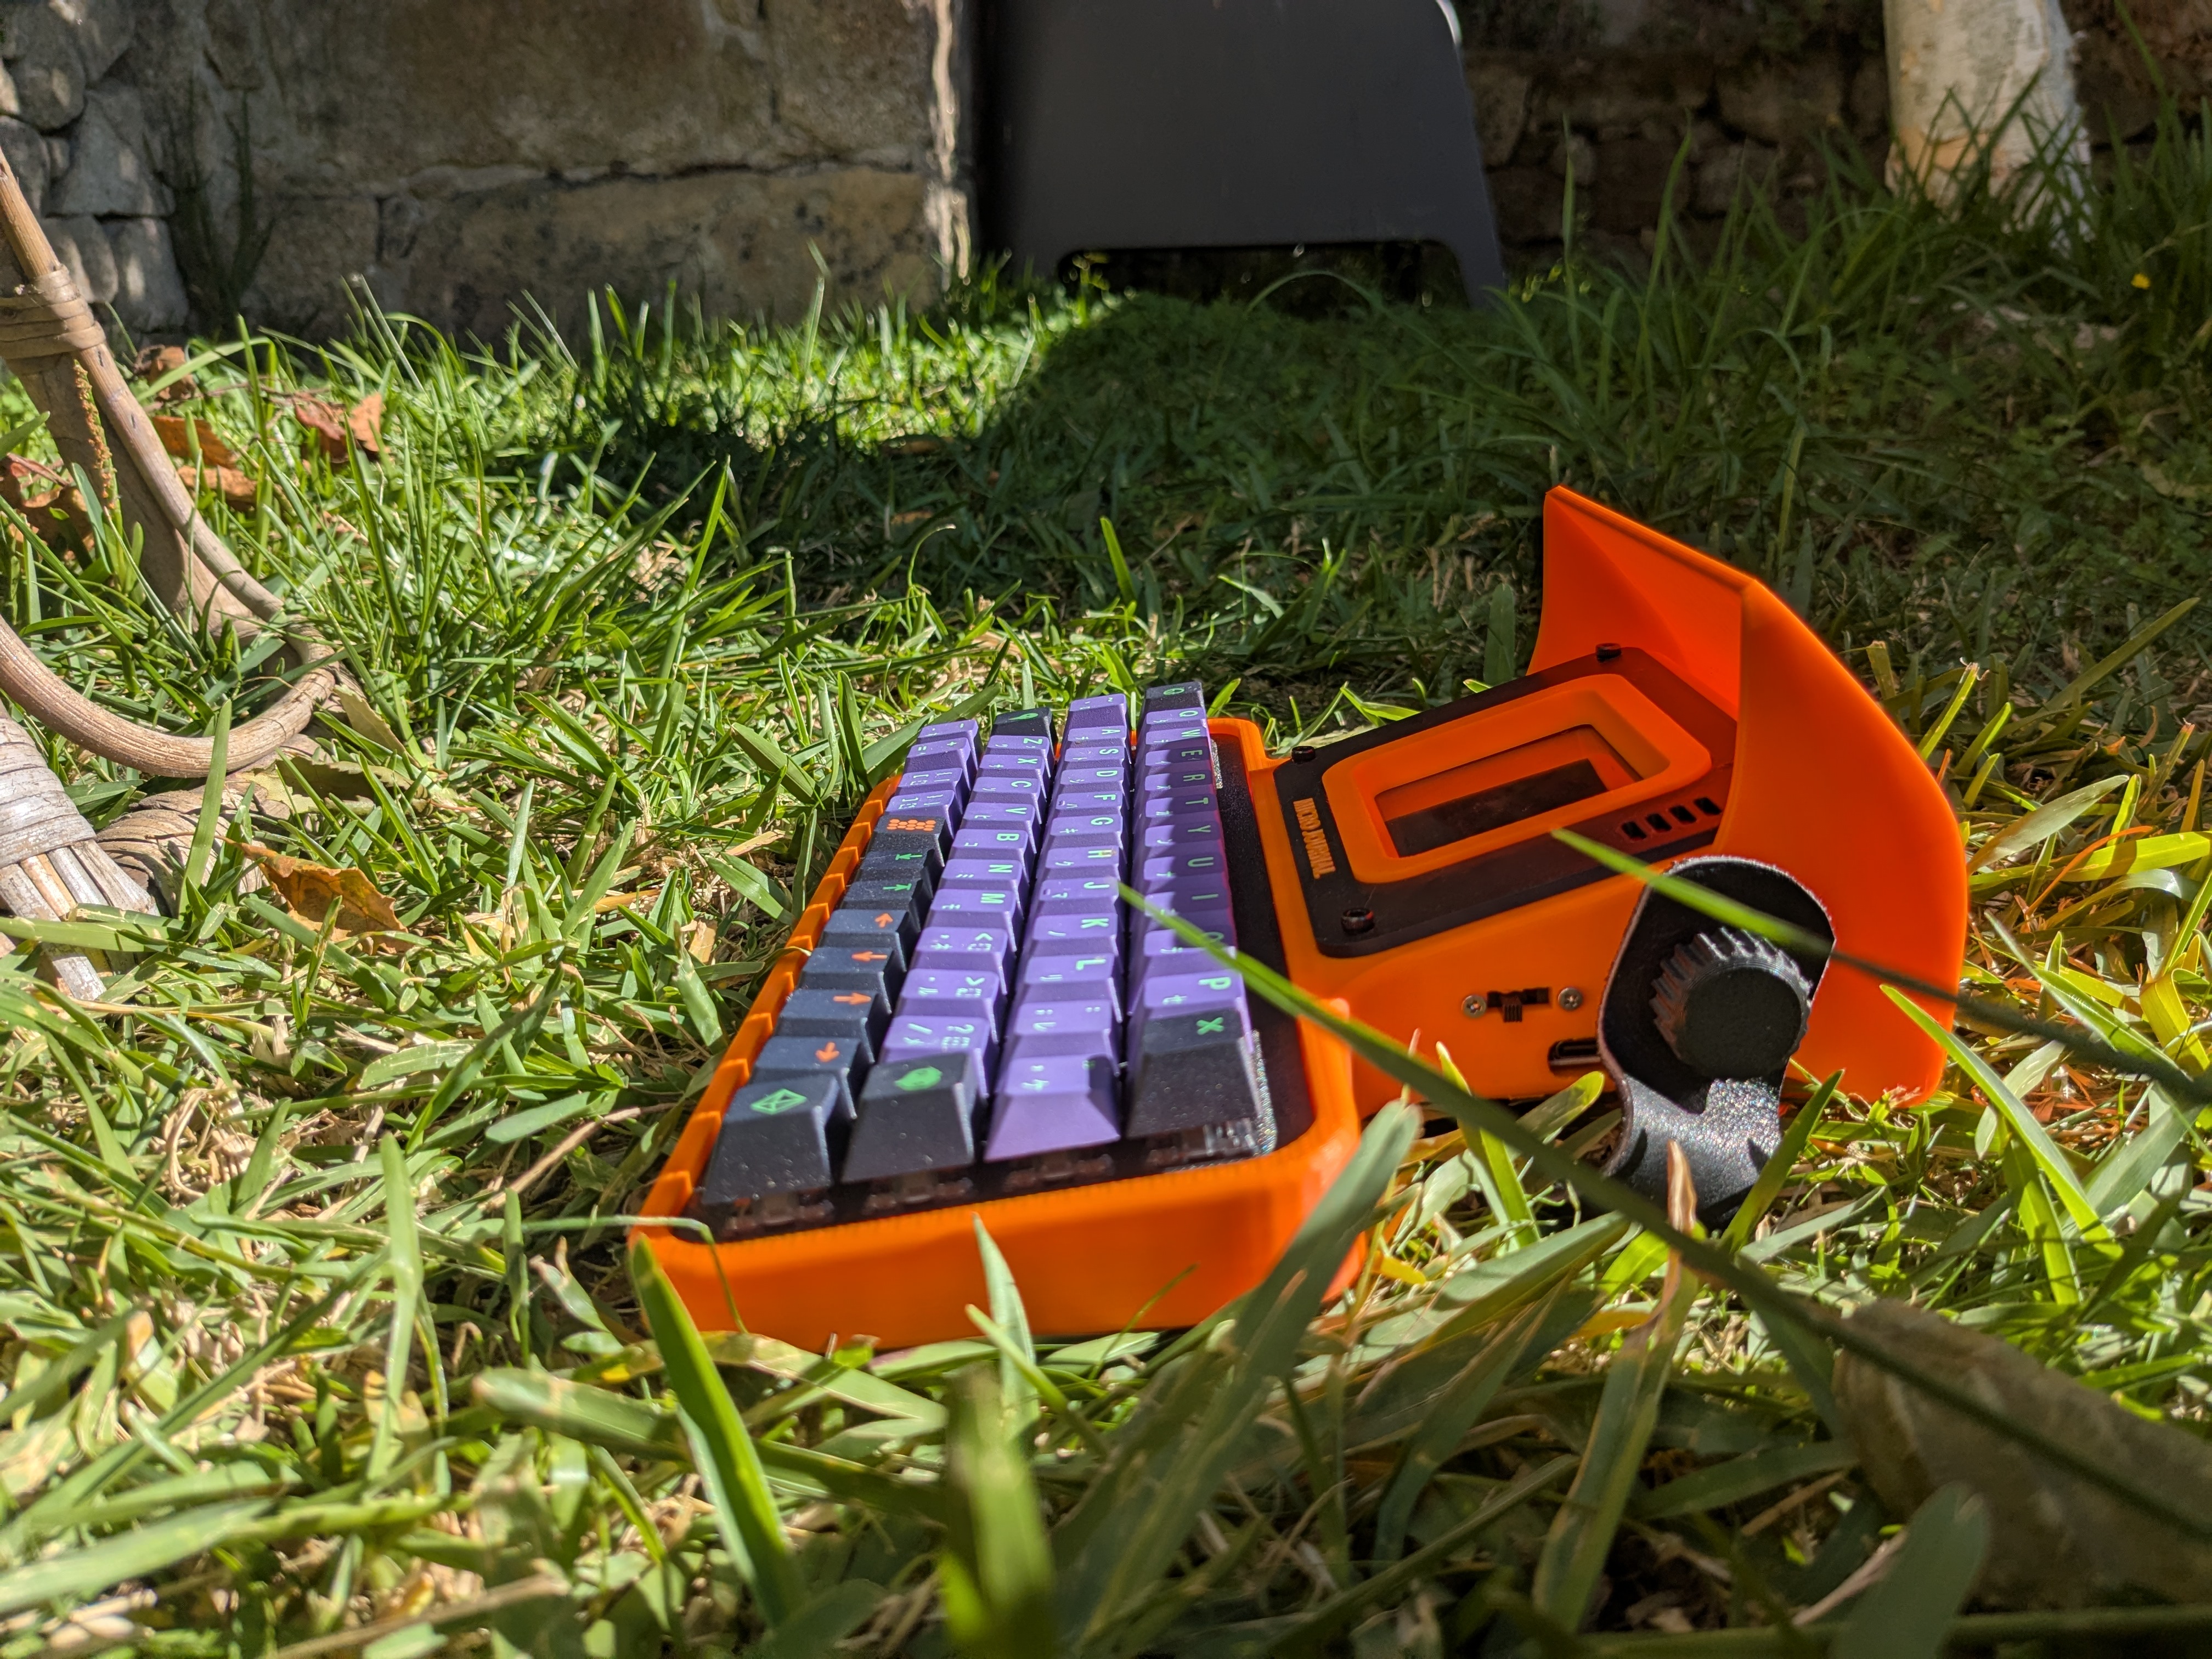
Findings on Shield
I found one undocumented feature of the shield part: you can use it as an additional stand. This increases the angle of the screen as shown in one of the pictures above.
I was also curious whether the text is recognizable on the screen under bright sunlight. Not really, but here is another realization I’ve got: the shield may be used to create shade.
My thoughts on using it
As anticipated, I like it! It feels pretty solid and fun to type on. Surprisingly, it really helps me to be less distracted and more focused on dumping my thoughts into text. Indeed, it is difficult to be distracted by something else when you have such an amazing piece in your hands that you just built.
Conclusion
I can recommend buying the DIY edition even for people who are not very familiar with electronics. You just need to watch a couple of videos on YouTube on how to solder two wires together. So it can be a good opportunity to spend some quality time together with your family building something cool.
Moreover, you may become interested in assembling more available open-source hardware after this experience. A good aspect of Microjournal rev. 6 is that it is based on ESP32, which is quite powerful and popular microcontroller nowadays. You can learn how to write programs for it by either modifying the original firmware or writing your own.
This article was written on Microjournal, btw!